


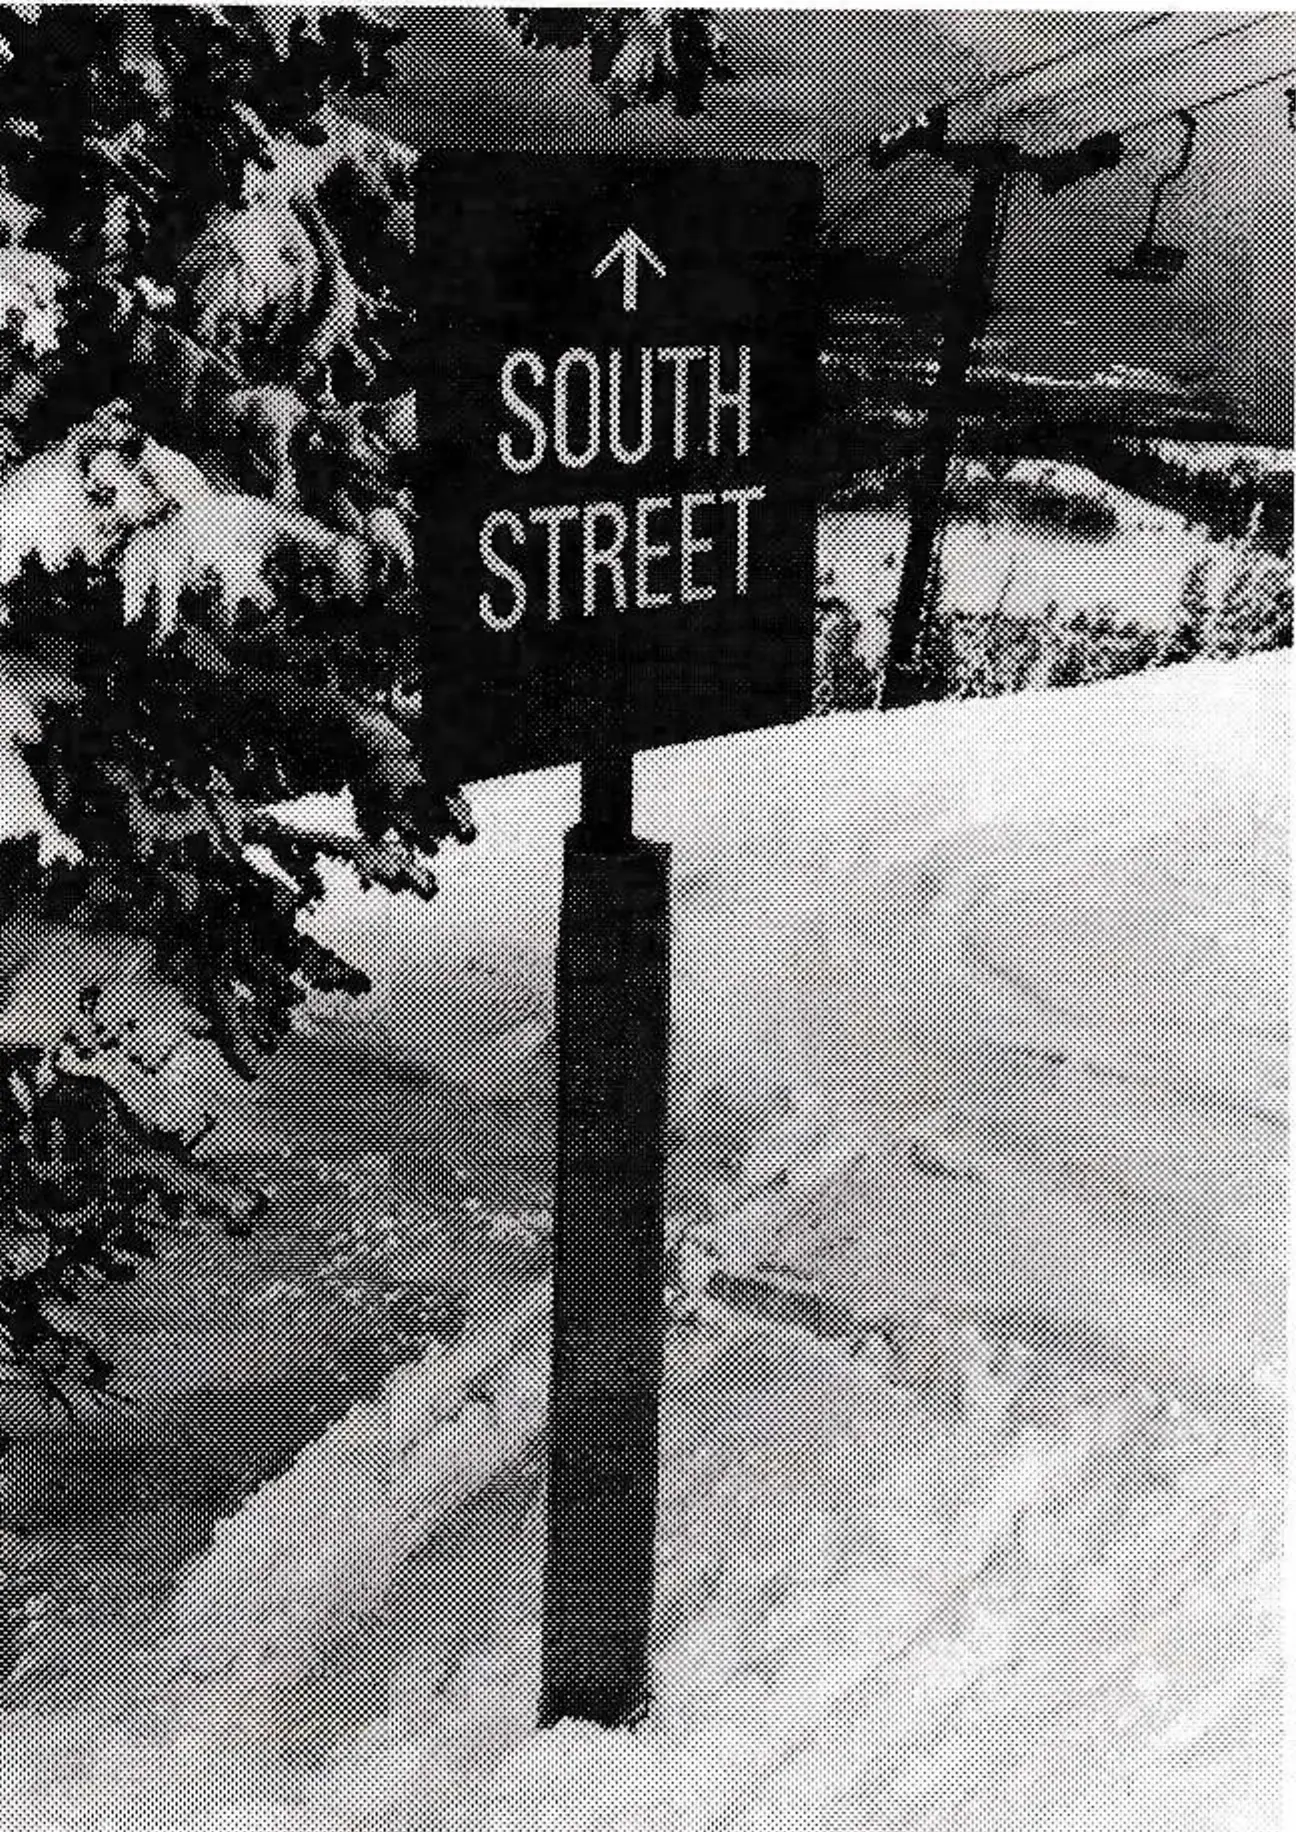
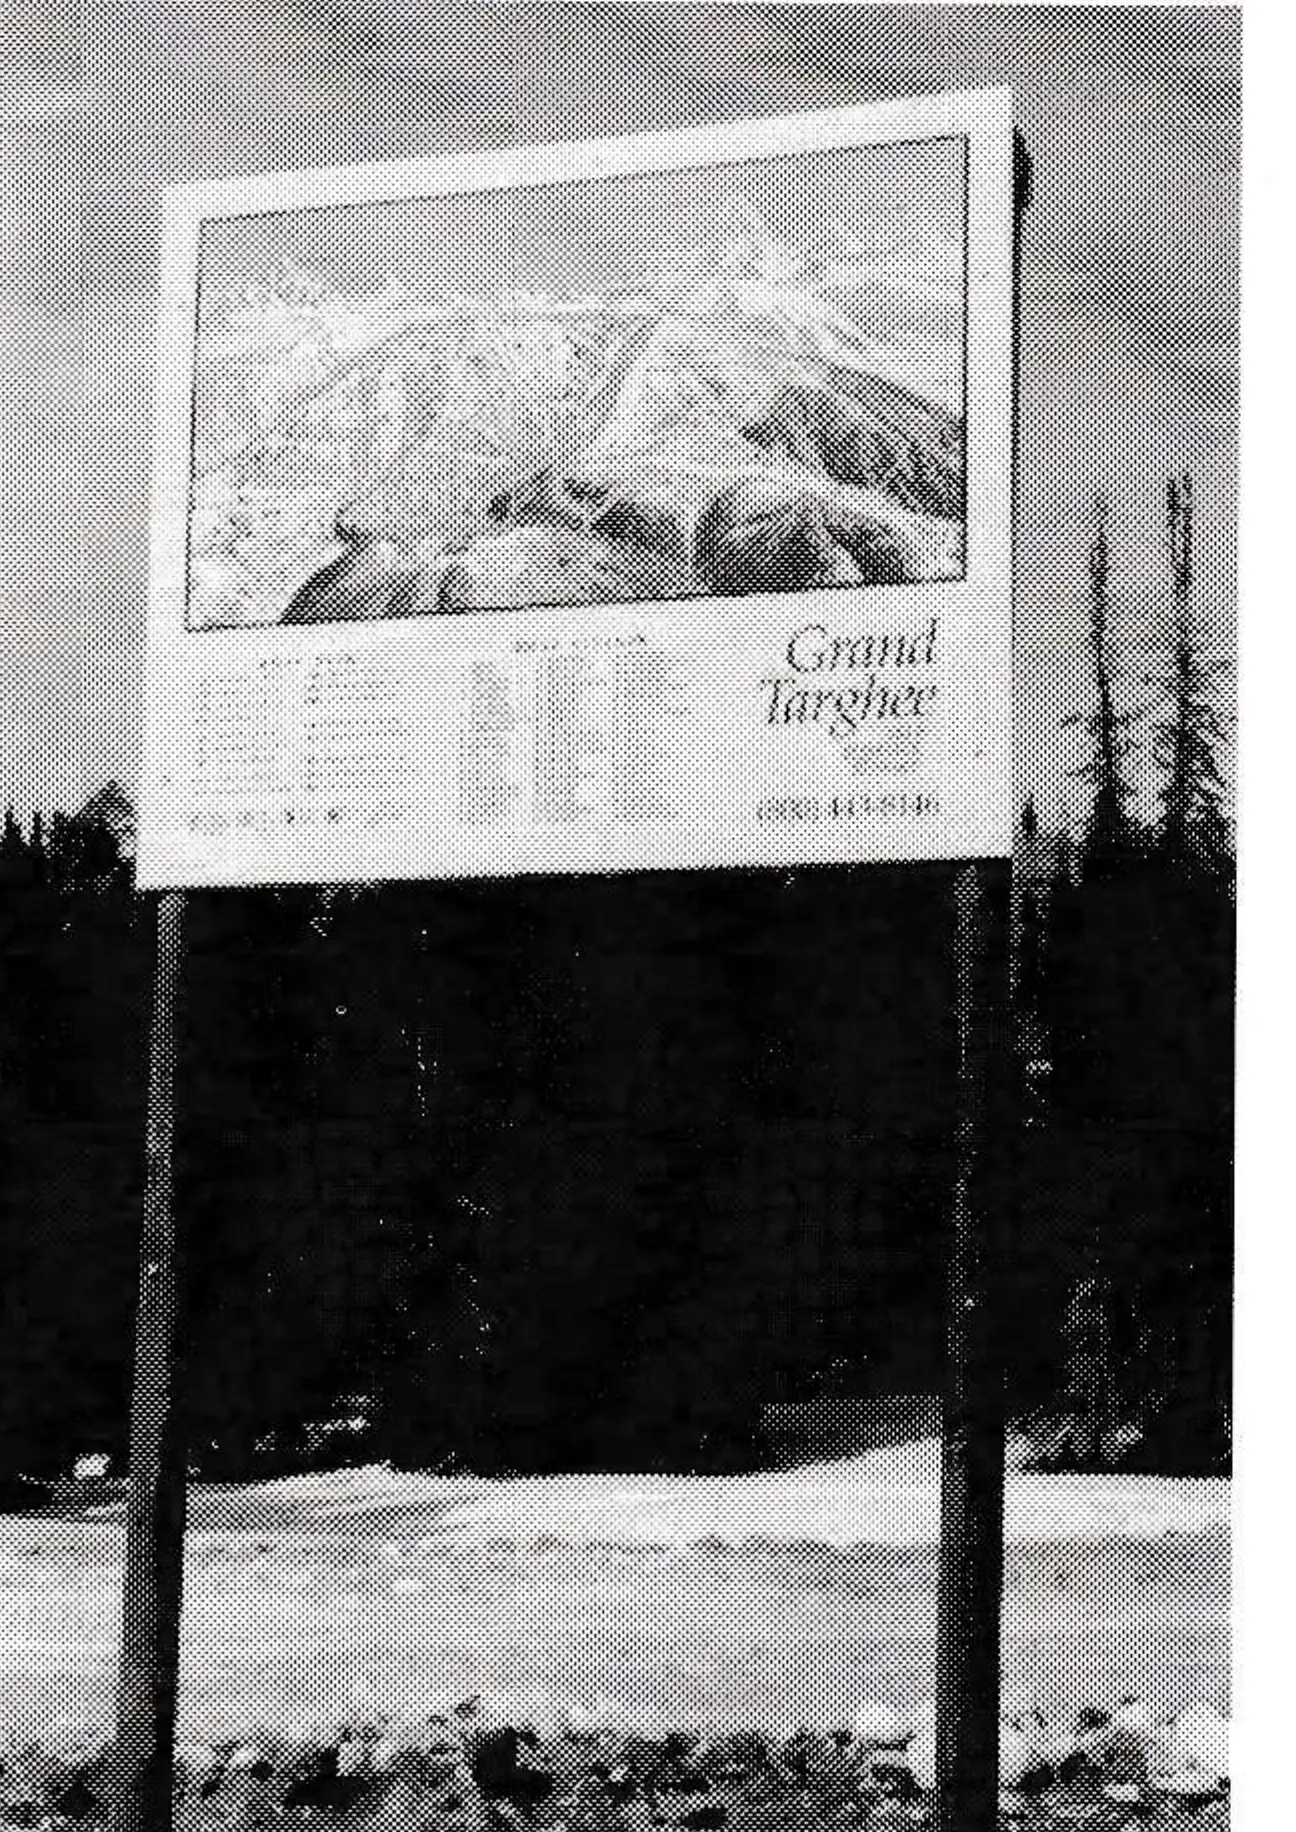
One day, Larry Williamson, the area’s mountain manager, came up with the idea of combining different kinds of materials to create posts that would be lightweight, versatile, easy to install and easy to raise as the snowpack deepened. We experimented, added ideas as we went along and came up with a post system that met all the criteria.
The backbone of the system is 2-1/2-inch Schedule 80 plastic pipe that was purchased from a nearby plumbing wholesaler. This size proved to be a good compromise between the smaller that were not sturdy enough to hold a sign 10 feet in the air and larger sizes were heavy and bulky.
The pipe comes in 20-foot lengths, so the first step was to cut it into manageable pieces on a chop saw. Six-, four-, and three-foot lengths proved to be the most useful.
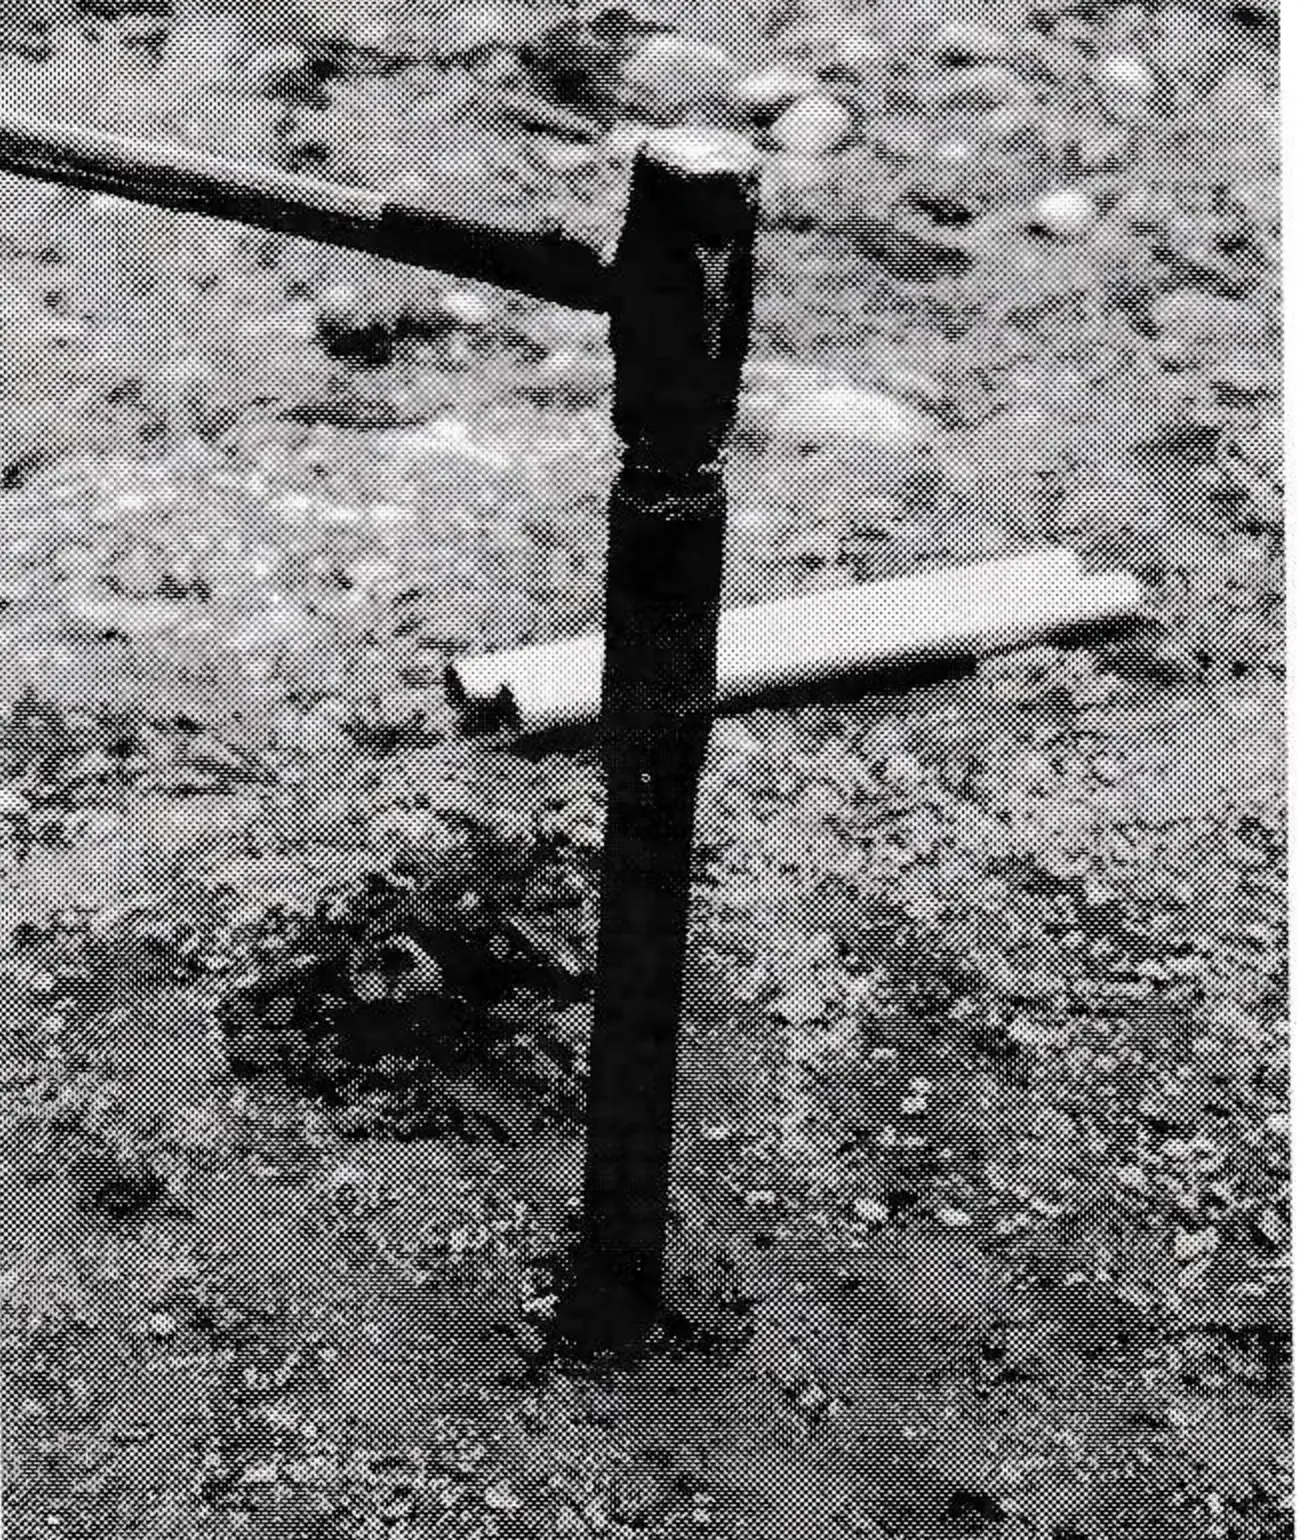
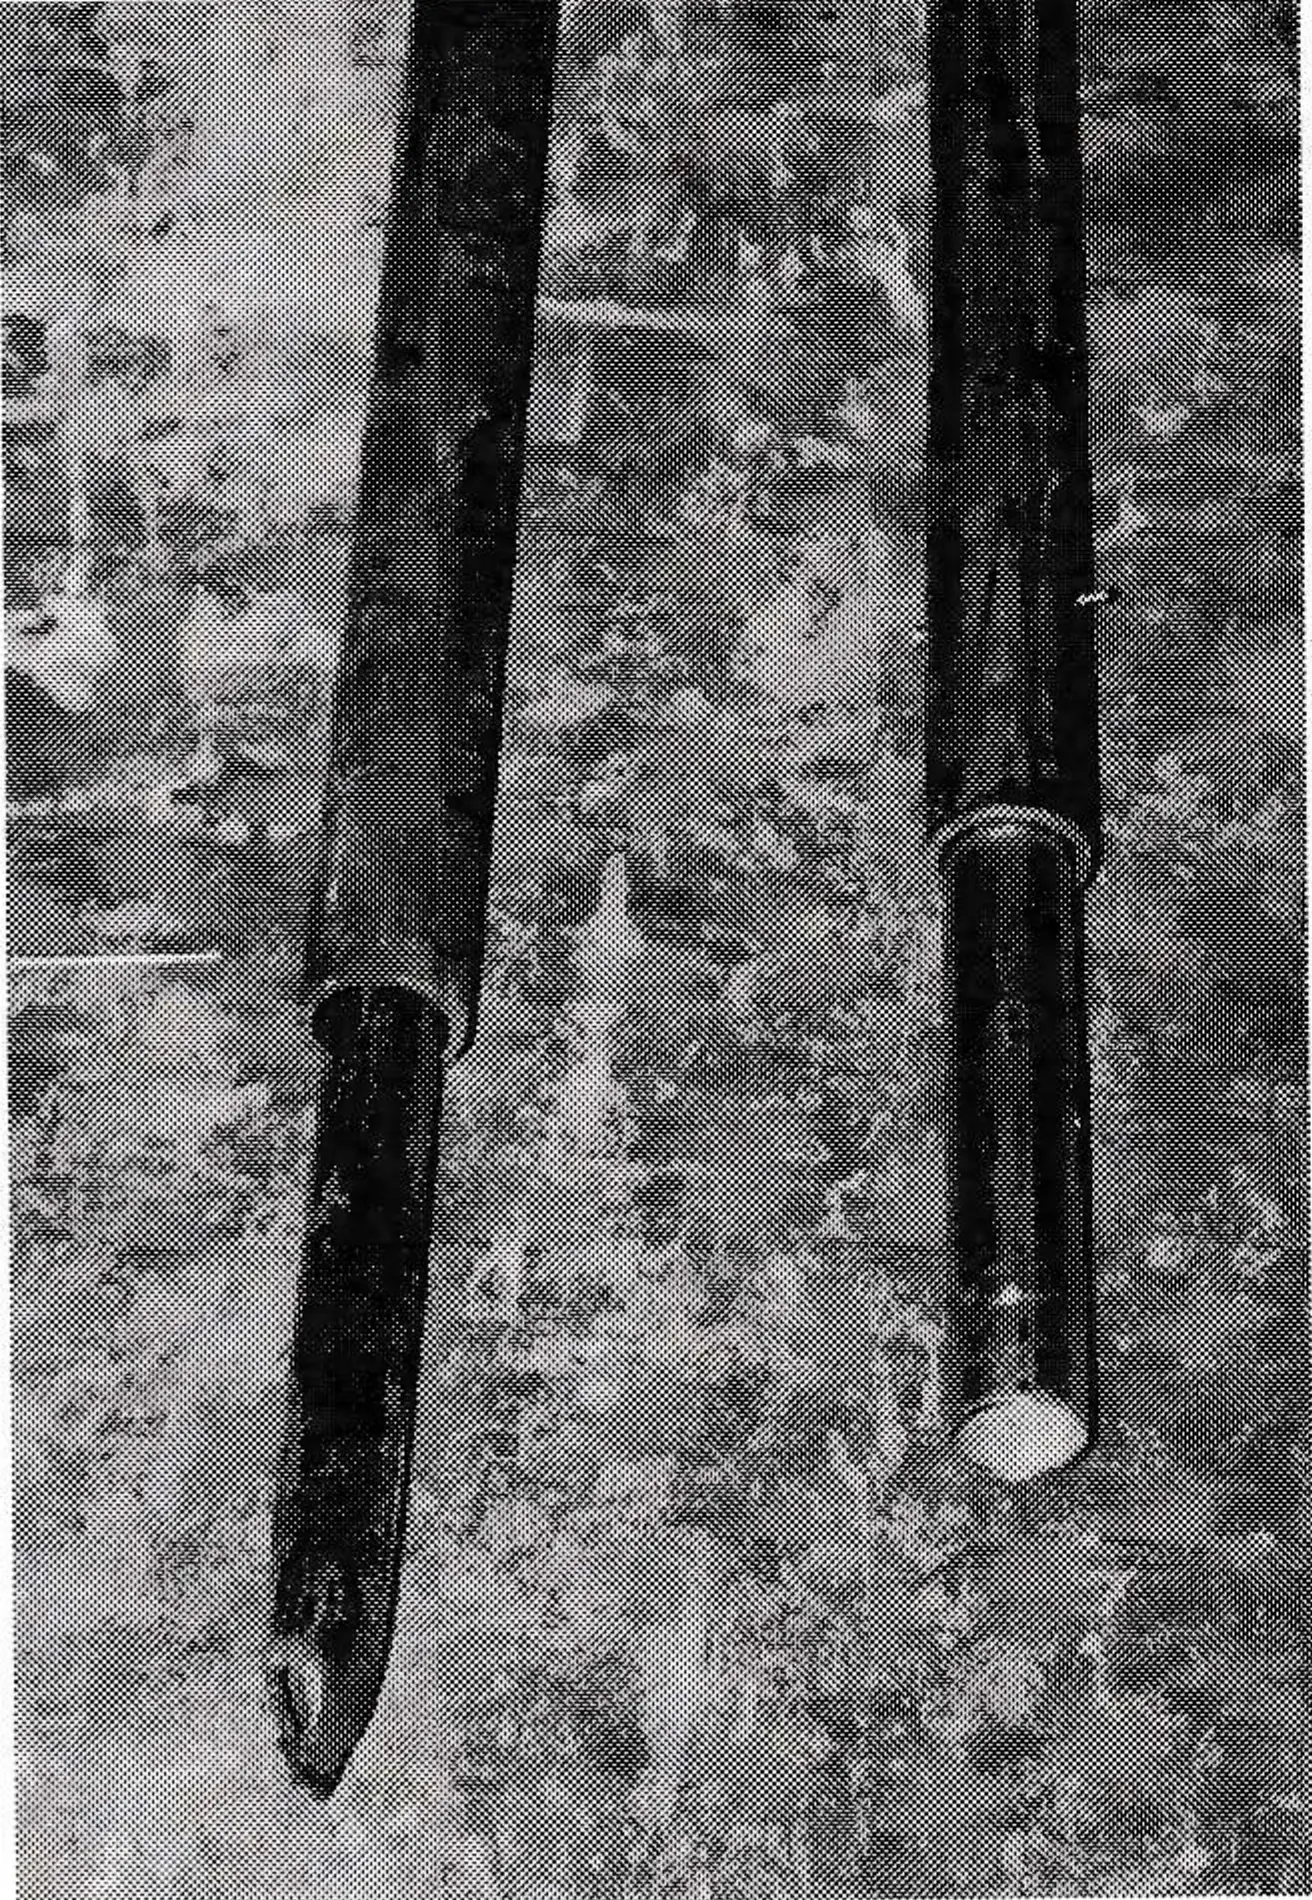
One-and-one-half-inch Schedule 80 steel pipe fits inside the 2-1/2 inch plastic, so we used it to anchor the post in the ground. We cut the 21-foot-lengths of steel into four- and five-foot pieces and created end-points by using a cutting torch to cut triangular pieces two inches long out of opposite sides of the pipe. The pipe was then heated and the remaining metal pounded together to form a point.
To prevent the pipe from “mushrooming” as we pounded it into the ground and becoming too large for the plastic pipe to slip over, we made temporary caps to fit over the pipe. A short piece of two-inch pipe was welded to a piece of heavy steel plate and slipped over the end of each piece of steel pipe before pounding it into the ground.
Using conventional molded plastic fittings to extend a post posed several problems. The fittings are expensive — $10 to $12 for a straight coupler — and the outside diameter of the fittings would make the finished post too large for our post pads, which had been custom made for our old system of steel highway T-posts. Glued fittings would also be permanent; we wanted something we could easily disassemble to raise or lower signs. No size of plastic pipe fits snugly inside the 2-1/2-inch Schedule 80, but a little junkyard brainstorming found that two-inch electrical conduit would be a perfect sleeve to fit inside the 2-1/2-inch plastic. We cut 2-inch EMT (Electrical Metallic Tubing) on the chop saw into pieces two feet long. This gives plenty of conduit to extend inside each piece of plastic, making a strong, stiff joint.
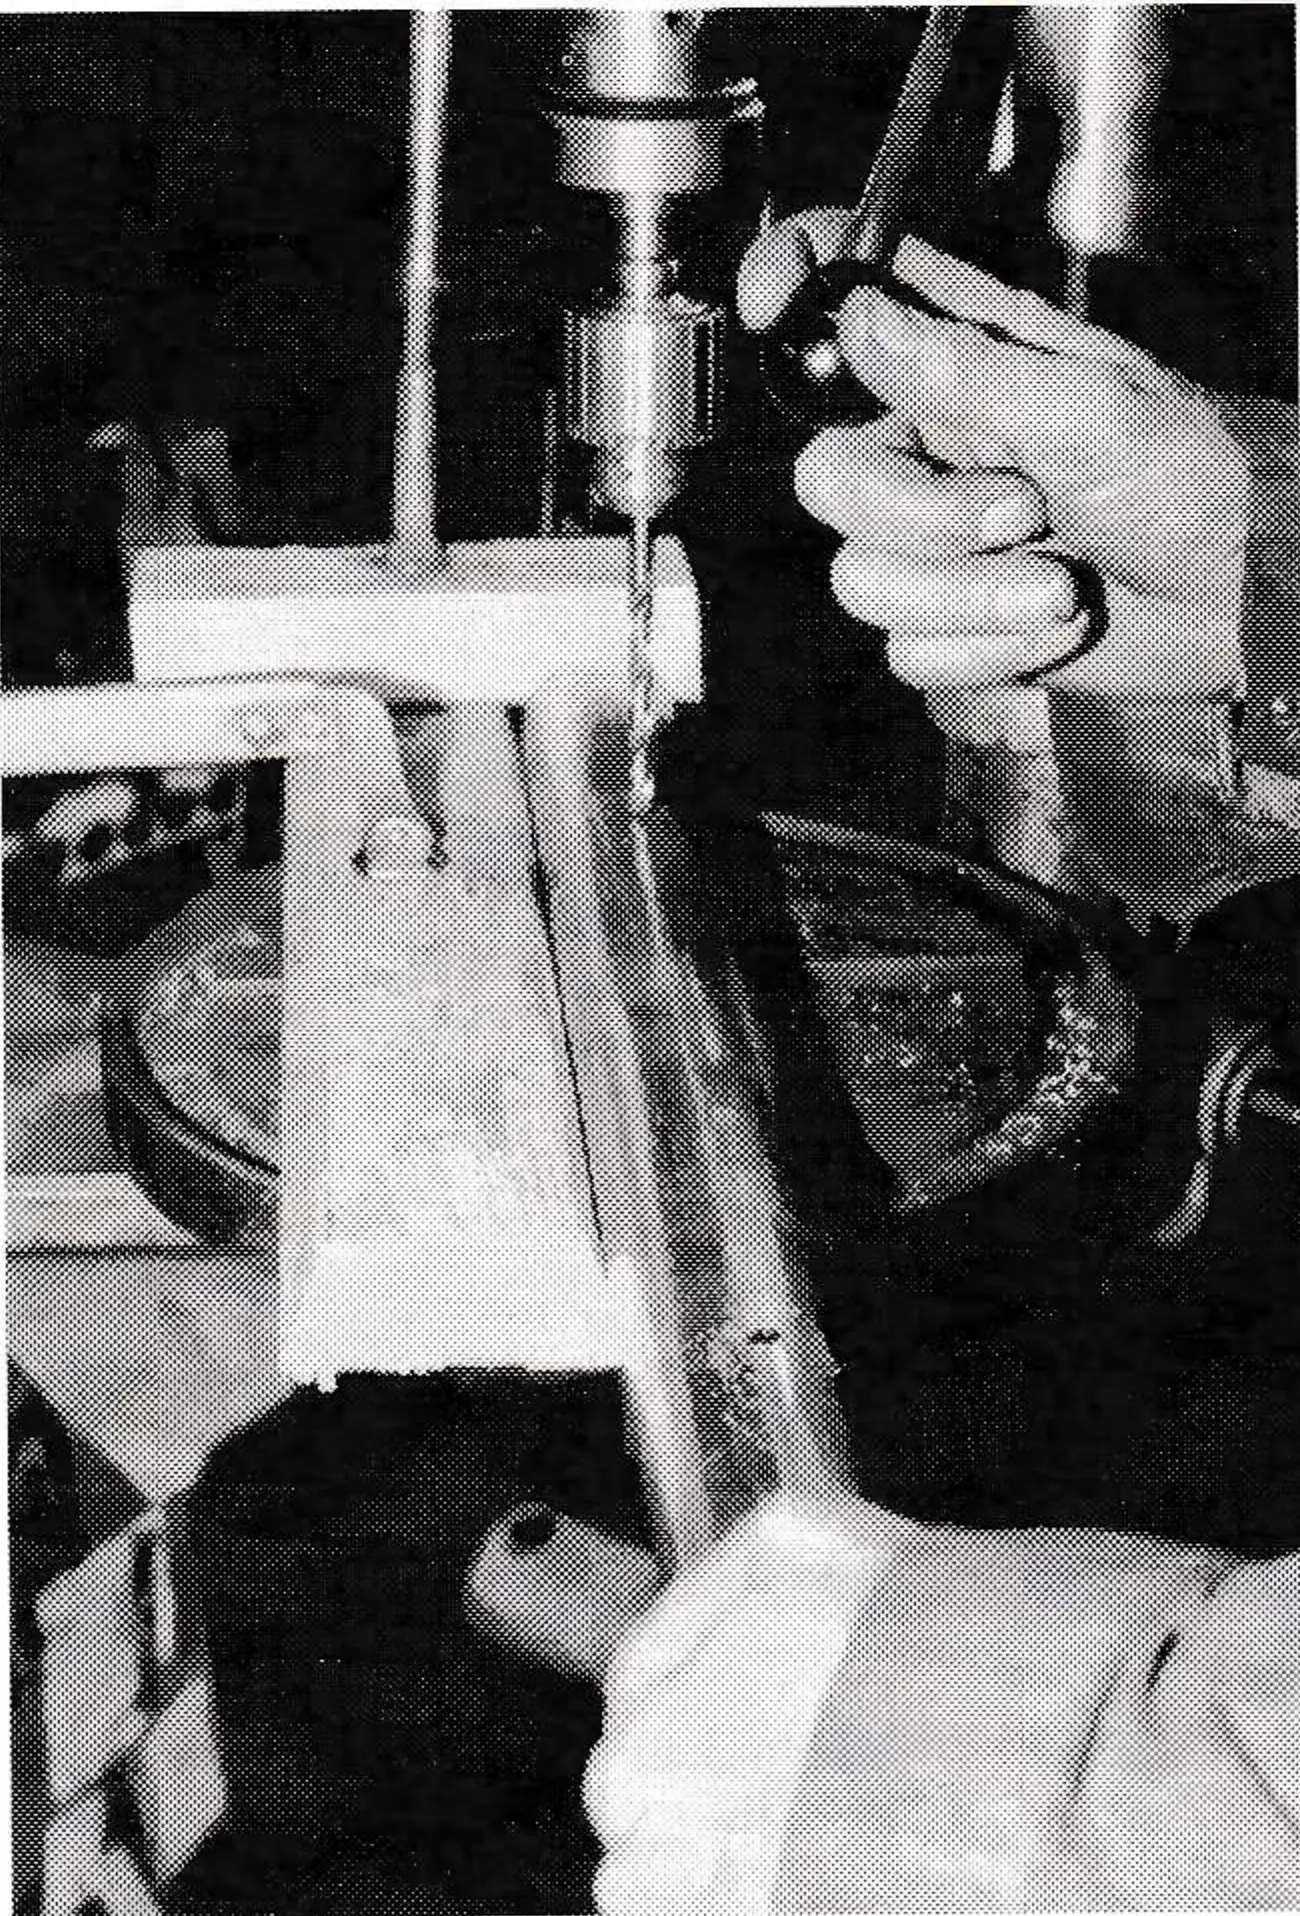
Using a drill press, we drilled each piece of plastic and conduit six inches from both ends. The 1-1/2 inch steel pieces were drilled about a foot from the unpointed end. (The exact distance from the end is unimportant on the pieces of steel pipe.) A simple jig composed of wood blocks clamped to the drill press table made accurate drilling easy.
Five-sixteenths-inch holes gave plenty of room to insert 1/4″-by-3-1/2″-bolts that were used to hold the sleeves in place, bolt signs to the posts and tie the plastic pipe to the steel pipe, preventing the sign form twisting in the wind. The holes in each piece of plastic and EMT were drilled on the same plane so a sign
would keep its orientation when one of those pieces was later added to raise a post. This was easy, as the plastic had a line of printing on it and the conduit has a seam that is easy to see.

With all the pieces prepared, we “demoed” our new system. Using a sledge hammer, a section of steel pipe was pounded into the ground. The next step was to attach the sign to a three-foot piece of plastic pipe. We brought large, pre-drilled metal signs onto the mountain, then drilled the plastic pipe to match the holes in the signs. A cordless drill easily drills the plastic and the signs were bolted to the pipe on site using 3-1/2-inch bolts.
Lightweight plastic signs were attached by putting short “grabber” screws through the sign and into the plastic pipe, using a cordless drill and phillips driver bit. With the sign attached to one end of a piece of pipe, a sleeve was bolted into the opposite end. The sleeve was slid into the end of a six-foot piece of plastic pipe and bolted. The sign can be attached to a single length of plastic, eliminating the need for the conduit sleeve if snow depths won’t require later raising of the sign. If a joint isn’t included and the sign must later be raised due to snow depth, it will become necessary to shovel out the base of the post.
The final step was to raise the post, slip it over the steel pipe and secure the plastic to the steel pipe, A 9/32″-drill bit was handy for this operation as the bit must drill through the plastic, then pass through the pre-drilled 5/16″ hole in the steel pipe to drill through the far side of the plastic pipe. The sign was oriented in the right direction, then a helper raised the plastic pipe off the ground until the pre-drilled hole in the steel pipe was visible. The driller measured the height of the hole off the ground and noted the direction the hole was pointing. The helper then lowered the plastic back to the ground — and the driller drilled into the plastic — usually, but not always in the right spot. It didn’t weaken the plastic pipe to have a few exploratory holes drilled in it and with snow cover or a post pad, they aren’t visible. With luck and practice, it became possible to drill the plastic exactly in line with the hole in the steel, pass through the hole in the steel and drill the far side of the plastic. A 3-1/2″-bolt through the hole with a nut on the end keeps the sign from twisting out of alignment.
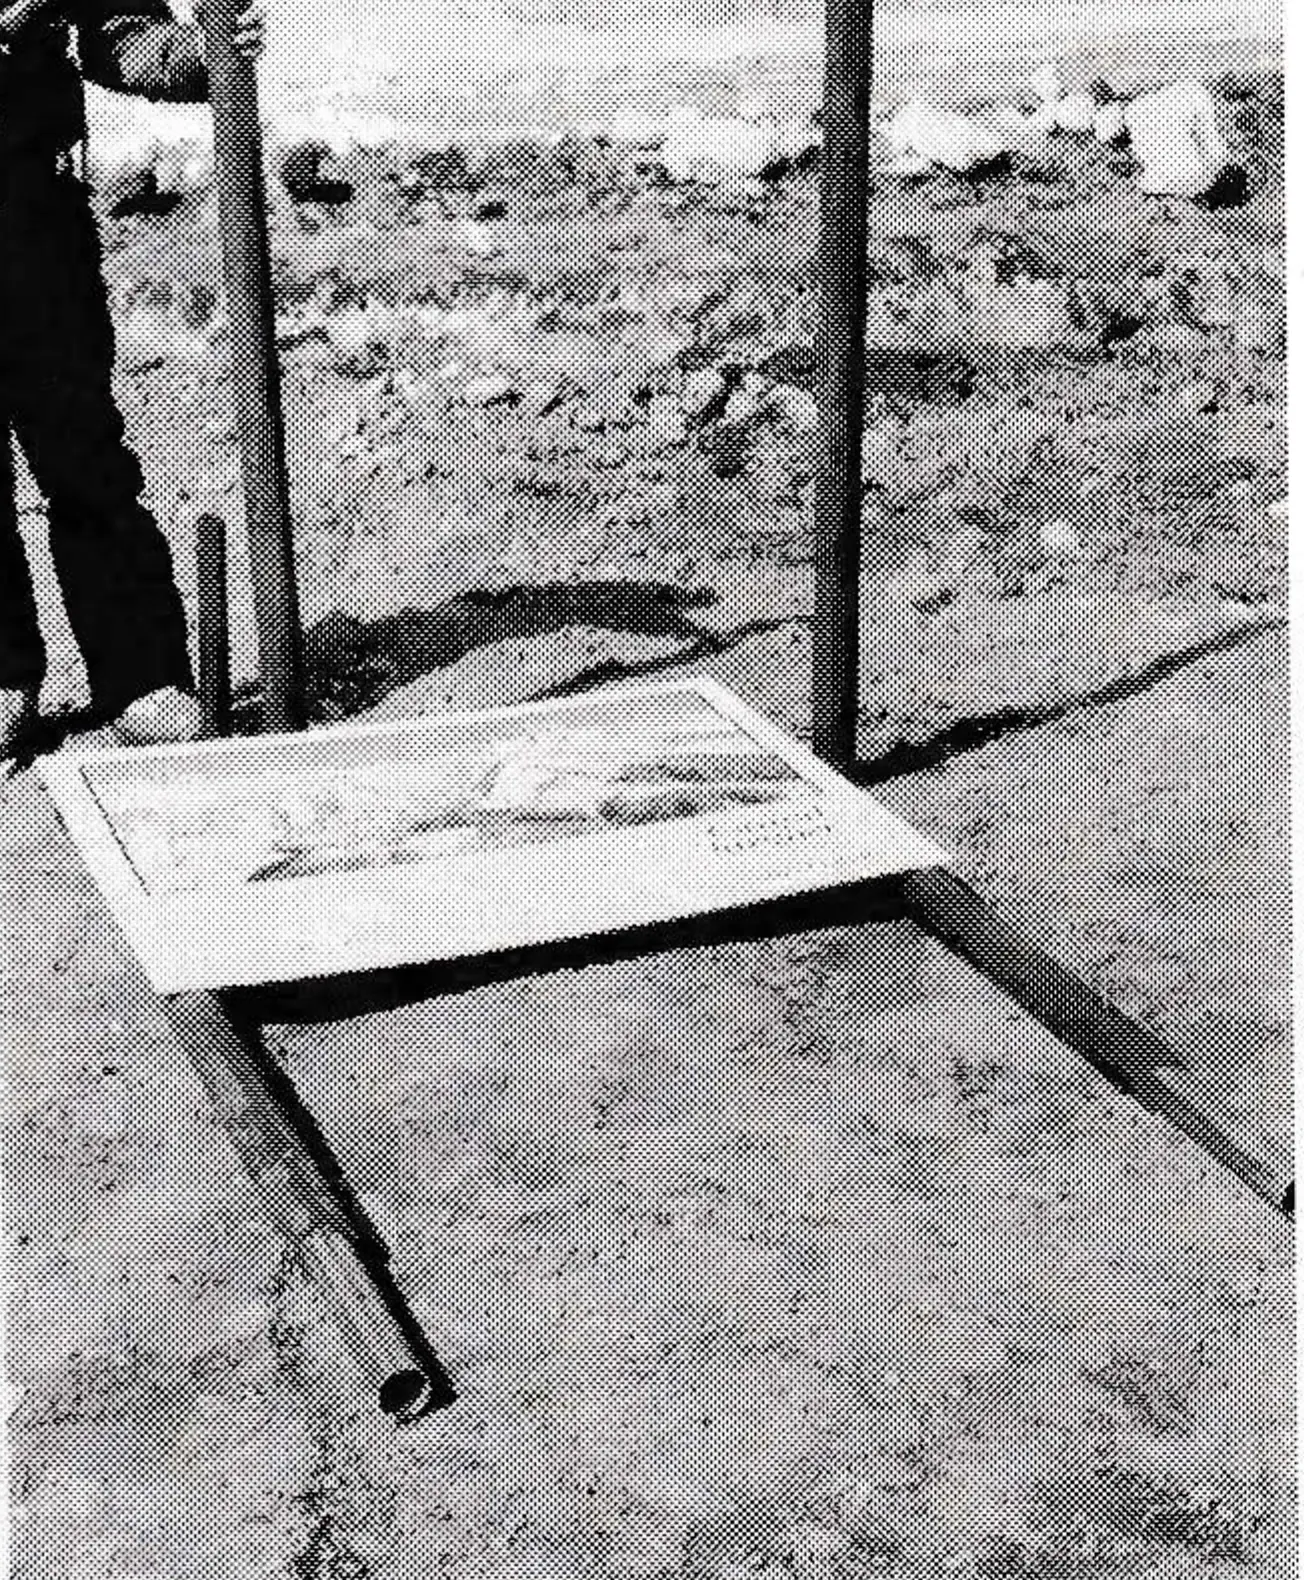
A much stronger, no-twist rack can easily be built using these components, plus a couple of glue-on 90 degree elbows. Two pieces of steel pipe are pounded into the ground the desired distance apart. The upright pieces are measured and cut to allow for ground slope, then the top cross piece is measured and cut. The pieces are assembled, the sign attached and the assembly is raised onto the steel pipe or lower sections of plastic with sleeves.
Several dozen of these posts have been in place for a winter at Grand Targhee, with few problems. We surmise that the slight flexibility of the plastic posts could actually be an advantage should a skier hit one. Snow creep at one very steep spot where snow was deep, tended to bend the plastic, but the sign was still readable and in place. One sign that was placed in loose, rocky soil twisted out of alignment in high winds, because the steel pipe was twisting in the ground. That pipe was removed, a couple of steel “fins” welded on and re-set.
Cost per single sign post with the initial nine-foot-height was about $18, with the 2-1/2-inch Schedule 80 PVC selling for $1.25 per foot.
We feel this is a winning system that we will continue to use for years to come. The materials are light-weight, relatively low cost, and easy to install. It could be right for any mountain operation on a tight budget looking for an easy way to put up signs.