


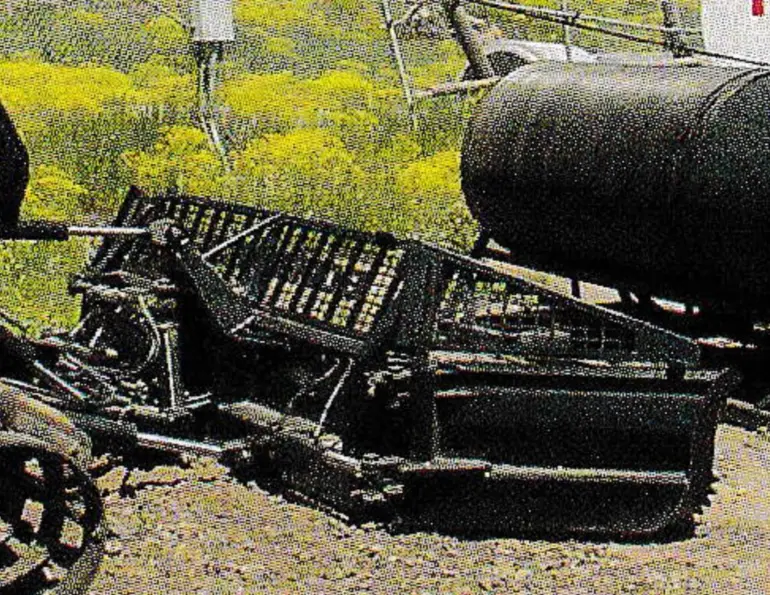
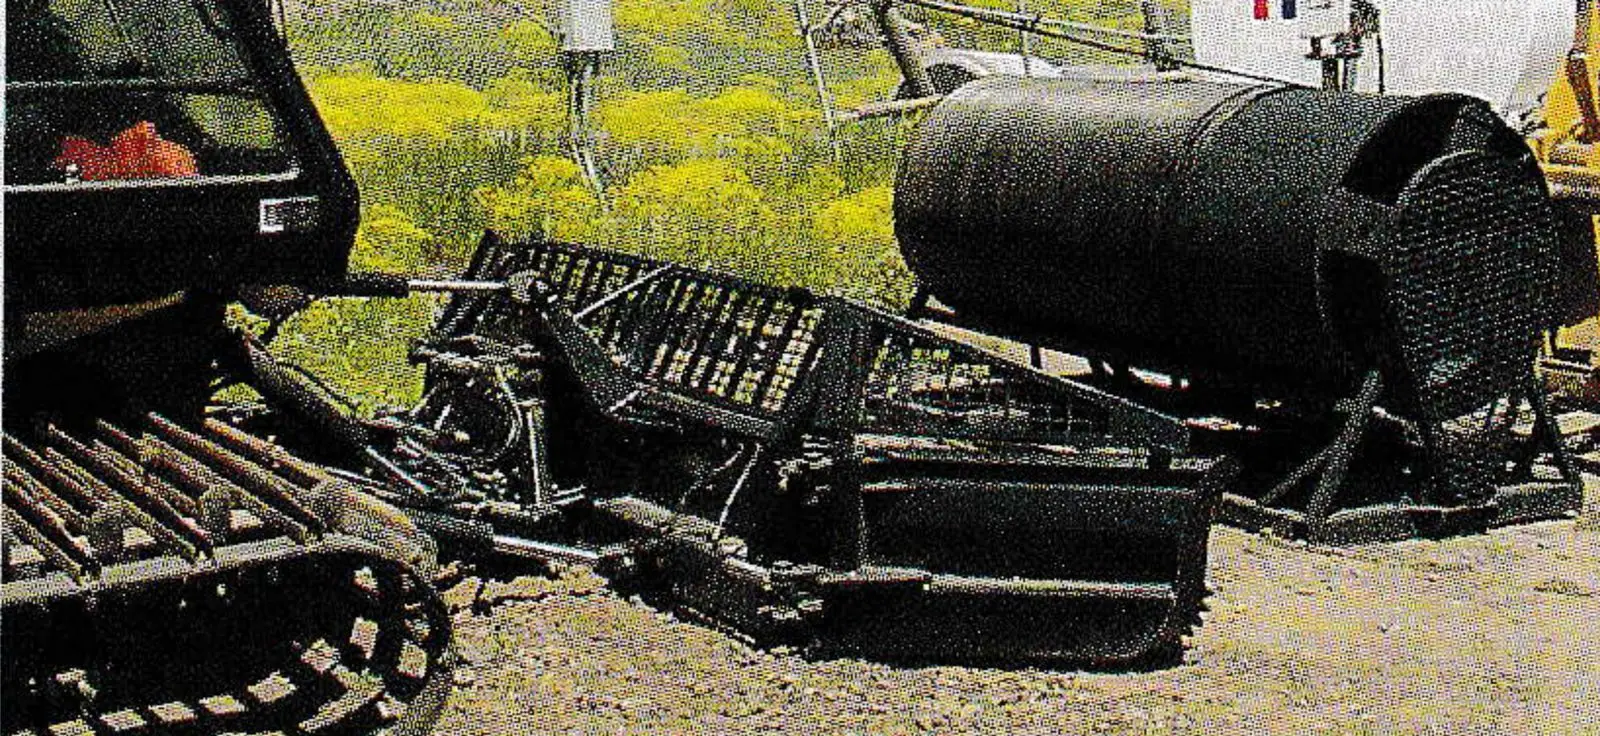
Winch cats always pose interesting maintenance challenges—especially the cable, due to its size, weight and awkwardness. Everyone knows that part of winch maintenance involves flipping the cable end to end, which evenly distributes wear on the cable. But this is rarely done. In fact, I don’t know of a single ski area that actually does it. The task just takes too much time and there is no good way to do it. My staff and I have discussed this problem at least twice a year for the past several years, but never came up with a satisfactory solution.
Then last winter, our winch drum split. We had to remove the cable; remove, repair and replace the drum; and reinstall the cable. We didn’t want to leave the cable on the shop floor for days while we repaired the drum because it could easily get damaged. Someone suggested borrowing a hydraulic spooling rig, onto which we could spool the rope. We borrowed one from CTEC, chained it to the forks of our Caterpillar 962G loader, hooked it to the loader’s auxiliary hydraulic circuit, and pulled the cable off the drum in less than 10 minutes. The cable was neat, clean and safe. When the drum was repaired and installed, wrapping the cable back onto the drum took less than 15 minutes, and it wrapped beautifully and tightly.
I started thinking about building a cable winder of our own, so we wouldn’t need to borrow one. As I thought more about it, I had an epiphany: Why not build one to accommodate the entire cable with one pass? Then we could also use this device for flipping the rope end to end. (Making sure the cable wraps only once is crucial—if the cable starts to wrap over itself, you can’t wind it off the roller from the other end.)
Once we had the idea, building the cable winder was not difficult. Due to the large amount of construction here at The Canyons during the last five years, we had several empty haul rope spools on hand. With the ends cut off, the spools have a diameter of 3.5 feet. Some quick math showed a required drum length of 10 feet (see Custom Spooling, by the Numbers, below). This dimension would allow us to spool our entire 2,400 feet of cable with just one pass.
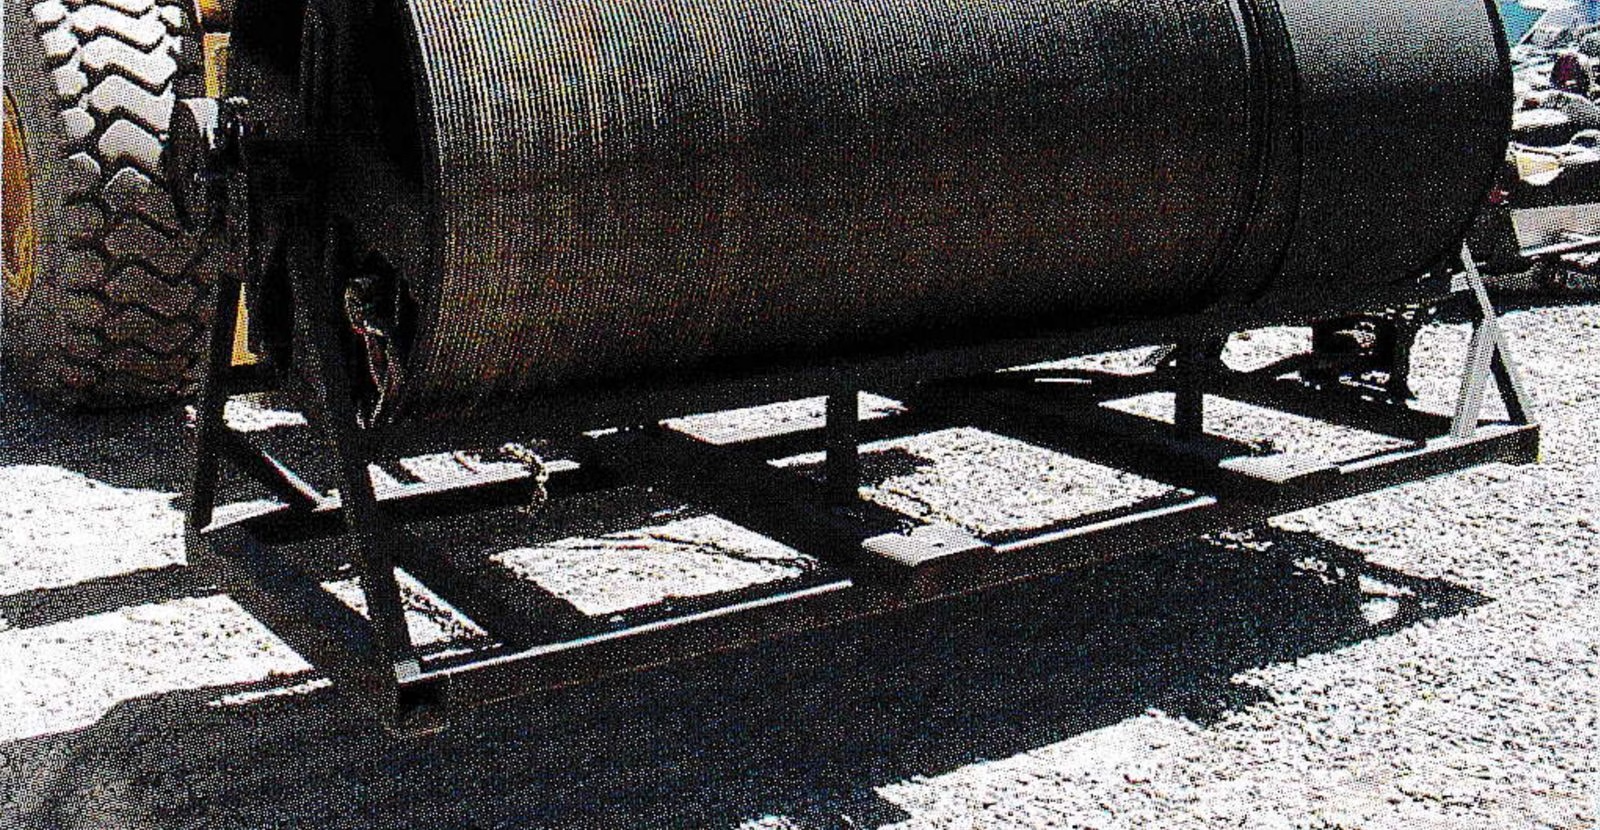
In our case, each of the haul rope spools (with the ends cut off) measured five feet in length by 3.5 feet in diameter. We welded two spools together to create a 3.5-foot-diameter tube that was 10 feet long. This provided enough capacity to hold the entire cable with just one wrap. (Any diameter tube will work, but we wanted a reasonable dimension overall. For example, we didn’t want a drum that was one foot in diameter but 27 feet long! Moreover, the haul rope spools were something we already had on hand.)
We built the drum and made a rugged chassis to support it. We used the Babbitt bushings and band brake pirated from the brake half of an unused spooling rig that was lying around (see middle photo, right). The band brake is an unnecessary item, but it is there, just in case. The base of the frame is constructed of 3 x3 x .25-inch box. We used two large sections of channel, welded perpendicular to the frame rails, to provide an anchor for our loader’s forks.
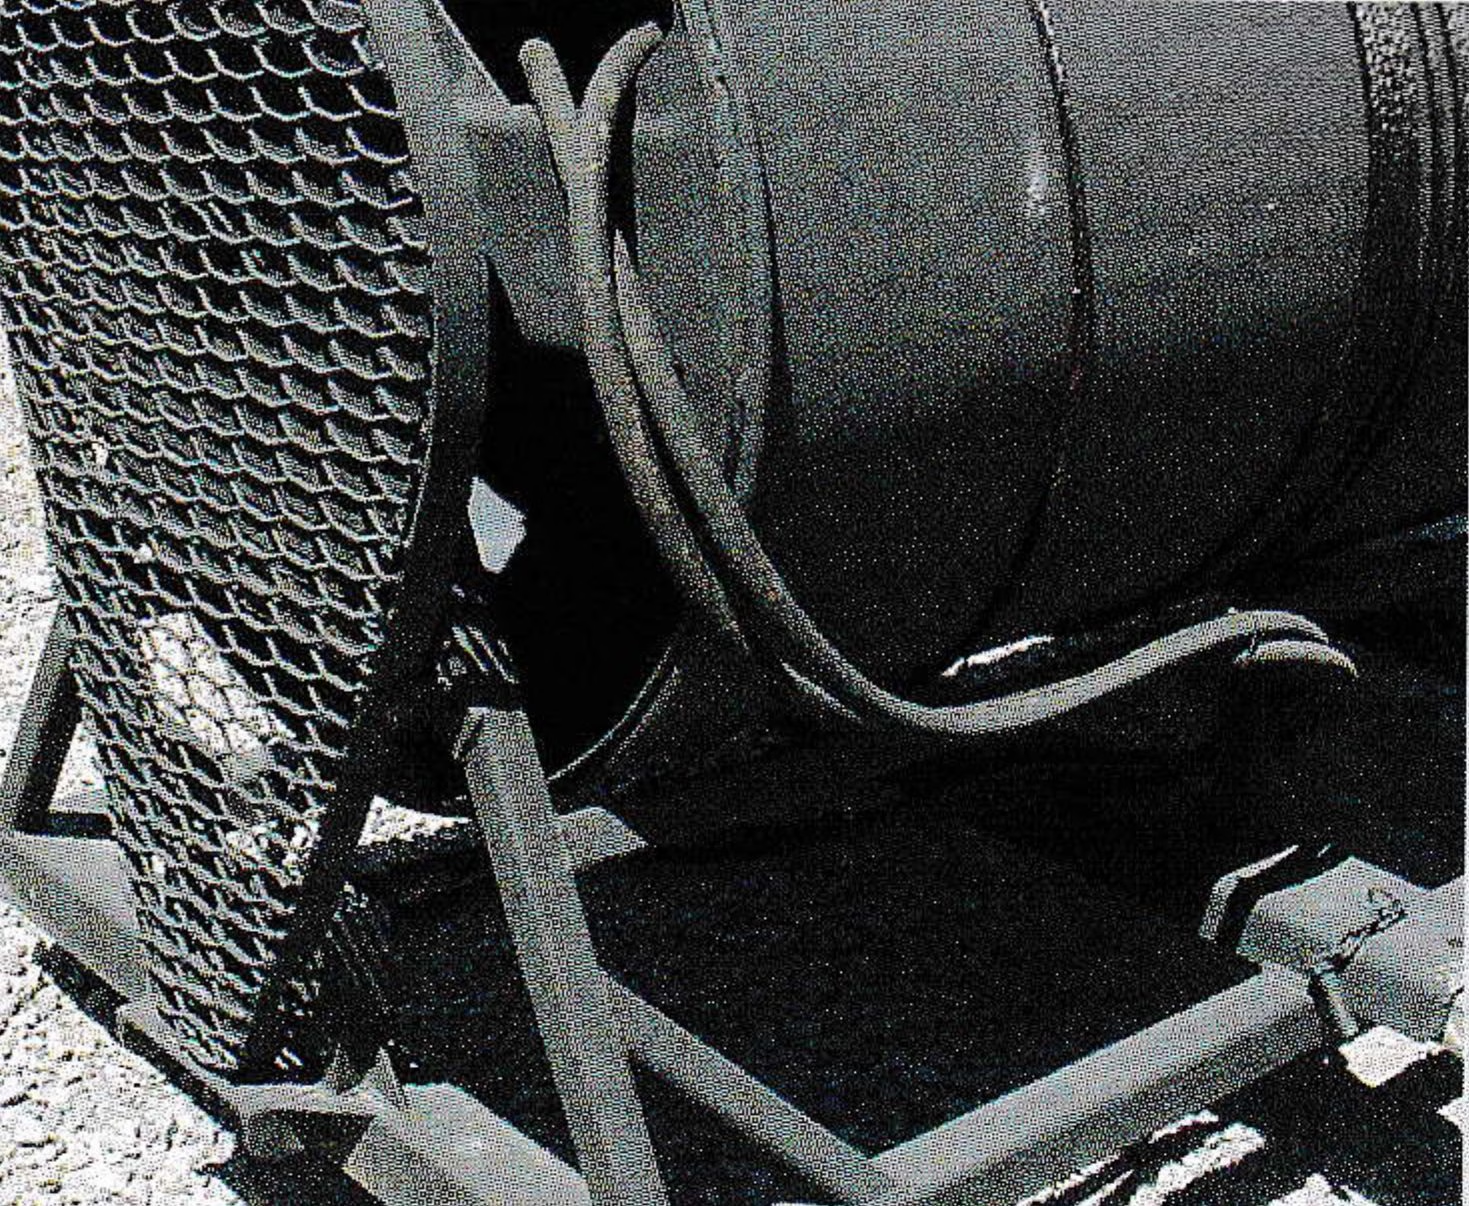
To power the drum, we bought a hydraulic motor and mounted it to the support chassis (bottom photo, behind screen). Our biggest concern about the drive was to have enough torque to keep sufficient tension on the cable at all times, and to run at a low speed. We bought a motor with the same displacement as the pump in our loader. Obviously, this creates a 1:1 ratio, so with the loader idling at 1,000 rpm, at full stroke of the stick, the drum motor would turn 1,000 rpm.
This is excessively fast, so we used a motorcycle chain and sprockets to gear it down and transfer power from the hydraulic motor to the drum. The motor’s drive gear is an 11-tooth unit. For the driven gear on the roller, we turned a 26-inch-diameter hub from .25-inch plate on our lathe, bought two motorcycle driven sprockets, and cut them into 2-inch sections of teeth. We then welded the sections onto the hub to make a 28-inch, 170-tooth driven sprocket. This gave us a drivetrain ratio of 15.45:1. At 1,000 rpm for the hydraulic motor, our drum should spin about 65 rpm.
On a drum with a 3.5-foot diameter, 65 rpm works out to a cable speed of about 710 feet per minute (circumference x rpm = feet per minute). At this speed it takes less than four minutes to remove the cable. And in use, our drum actually spins faster, at a bit more than 100 rpm—faster than necessary, but it works fine. (Our information regarding the displacement of our loader’s pump or the motor we bought must have been wrong.)
Smooth Spooling Takes Teamwork
Operating the drum/winch cat combo is simple (top photo). We use our Caterpillar 962G loader as the power source and anchor for the roller drum. The loader’s forks slide into the channel rails on the drum chassis, and locking pins keep the drum from sliding off the forks. Hydraulic quick disconnects plumb the loader’s auxiliary circuit to the drum’s motor. We park the loader and winch cat face to face, feed the end of the cable into the roller drum, and secure it via a cable clamp welded on the inside of each end of the drum.
Once everything is in place, we tension the cable by slowly applying power to the drum from inside the loader. The hydraulic circuit will go over relief in the loader as the cable comes taut. At the same time, the winch cat operator turns the winch control to spool out, and slowly turns up the speed pot. A key point: Throughout the spooling, the winch cat operator controls the payout speed with the speed pot. The loader operator’s responsibility is to make sure the drum is trying to turn faster than the winch is spooling out. As a result, the loader/roller drum is always pulling the cable and the winch cat is holding it back.
To achieve a clean, tight wrap on the drum, simply turn the steering on the loader to keep the cable at a slight angle into itself at all times. (In the photos, you can see that our cable wrapped very well until the very end, when the boom on the winch swung.)
To spool the cable back on, just attach the cable to the winch cat’s drum, turn the winch on, and start winching. Keep an eye on the level wind and look for a good wrap. Again, the winch cat controls the speed. The hydraulic motor on the roller drum will hold the roller drum back sufficiently to keep proper tension on the cable. Check to make sure the power source you use can absorb the heat generated by the roller drum’s motor pumping fluid over relief.

Our spooler makes short work of an otherwise tedious and very unpleasant project. The entire process, including setup and cleanup, takes two of us less than 45 minutes. This device not only gives us a tool to remove and reinstall the cable quickly, but a good place to store it, and a means to flip it.
Our total cost for construction of the roller drum was about $500, most of which was spent on obtaining a hydraulic motor. But our solution is just one example of how to make a roller drum—there are undoubtedly numerous cost-effective means of building upon the basic concept. But by using materials on hand and the simple math formulas presented here to properly size the device so that the entire cable fits on the drum, flipping the cable is no longer the chore it once was. Happy spooling!
Custom Spooling, by the Numbers
Here are the calculations for our drum roller.
To determine the drum circumference, multiply the drum diameter by pi (in our case, 3.5 x 3.1416 = 10.99 feet). With a 1/2-inch diameter cable, we can fit 24 wraps around the drum per foot of width. Therefore, at 10.99 feet of cable per wrap, the drum should hold about 263 feet of cable per foot of drum width (10.99 x 24 = 263). Therefore, a drum 10 feet long should hold about 2,630 feet of rope (263 x 10 = 2,630).
Any drum diameter will work. For whatever diameter you are working with, you can calculate the appropriate width with the following data and formula:
The data:
- D = Your drum diameter
- Pi = 3.1416
- C = Circumference
- 24 = Known wraps of 1/2-inch cable per foot on drum of any diameter
- F = Feet of cable per foot of drum
- L = your total rope length
- RDL = Required drum length, in feet
The formula:
- C = D x Pi
- F = C x 24 (or as many wraps you get per foot of drum length, depending on cable diameter)
- [unreadable: RDL formula line]
Example: 5 foot drum: 5(D) x 3.1416(Pi) = 15.7 feet (C); 15.7 feet (C) x 24 = 376 feet (F); 2100(L)/376(F) = 5.585(RDL)
Therefore, with a 5-foot diameter drum, you need a drum at least 5 feet, 7 inches long to hold 2,100 feet of cable with no overlap.