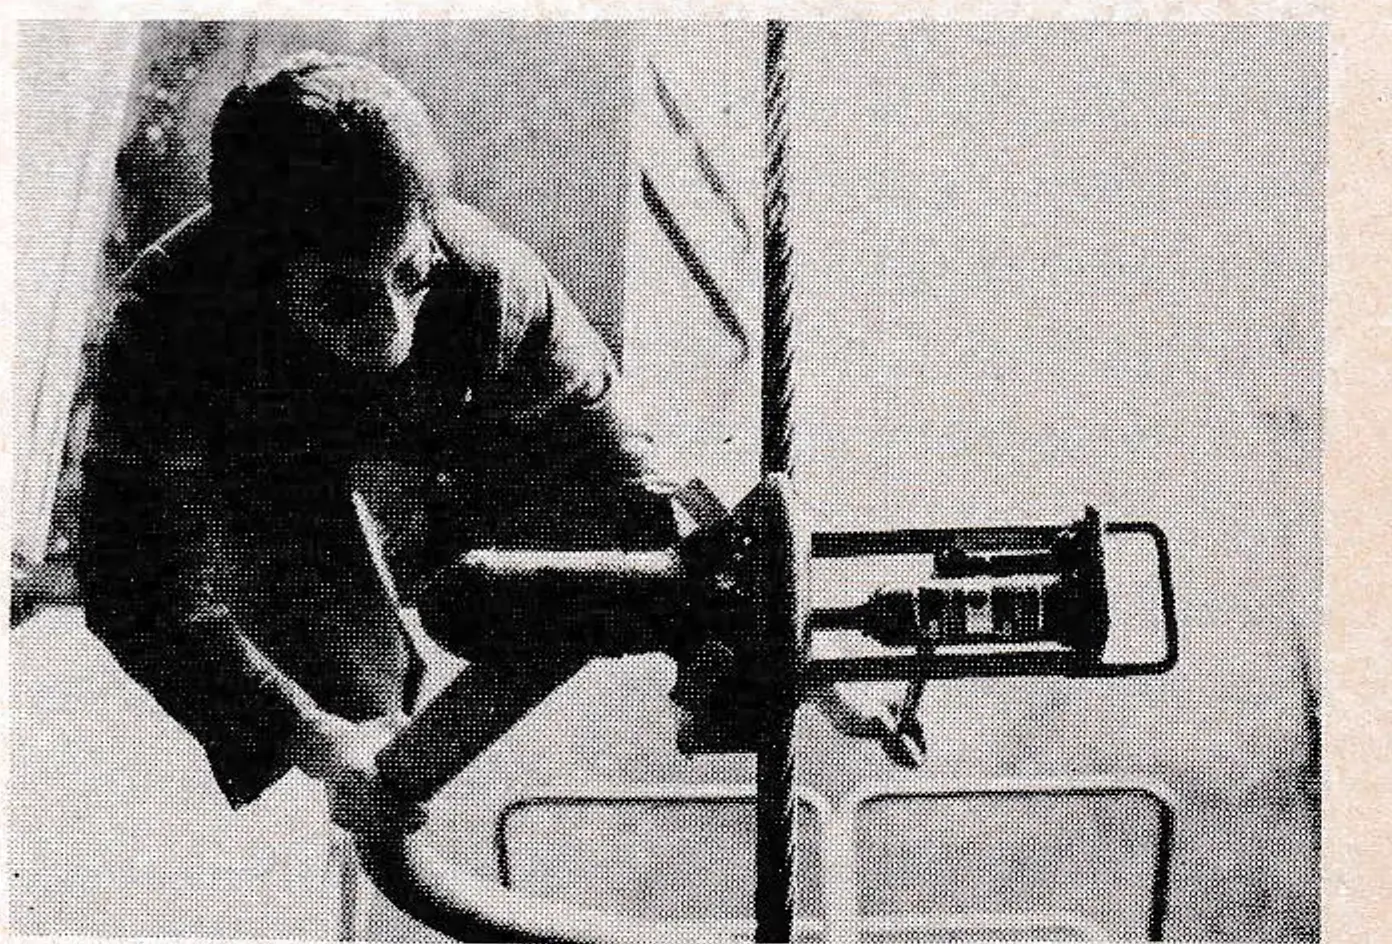

Coming to grips with GRIPS —
by Howard R. Anderson, P.E.
Engineering Coordinator, Western Ski Insurance Program
Historically, there were about five different principles for external grips, according to Z. Schneigert (Aerial Tramways and Functional Railways):
- Pressure type with furrows
- Pressure type — Pohlig system
- Wolf-Switzena rope couplings
- Spring Pressure type
- Pressure screw type, i.e. Girack type
Many of our present-day popular grips very closely resemble the original grips listed by Schneigert. For purposes of clarity I show a sketch on this page, adapted from a schematic prepared by one manufacturer, showing accepted terminology for today’s external grips.
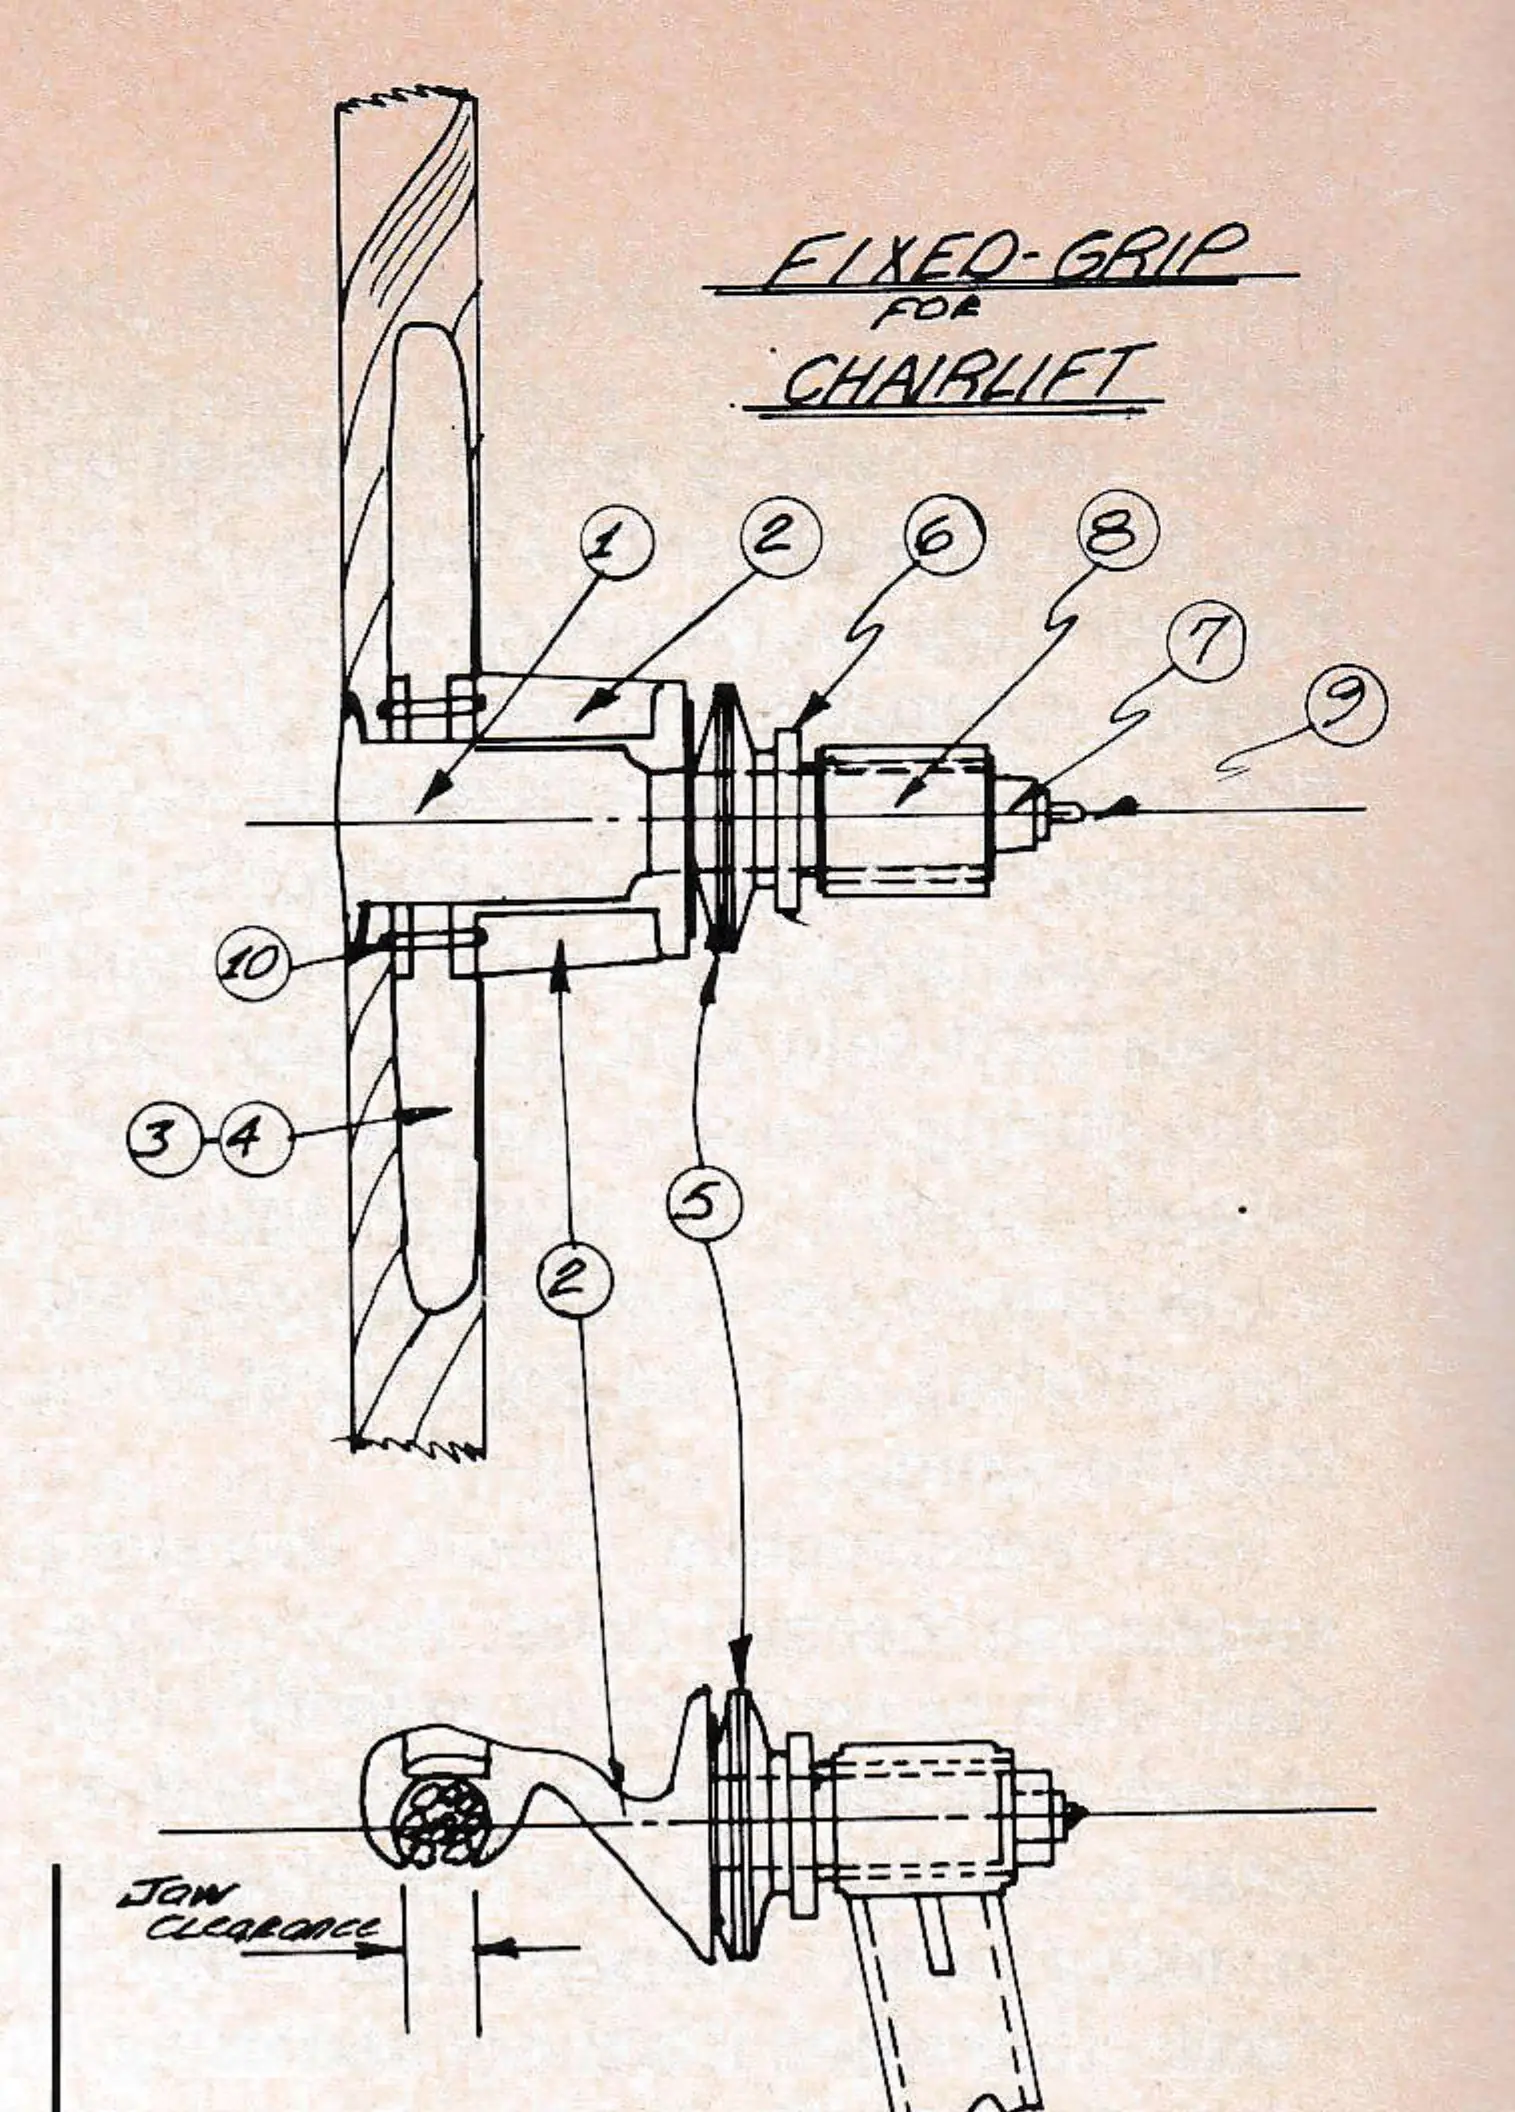
- 1. Movable jaw, male, or insert
- 2. Main body, or female
- 3. & 4. Left & right wedges or running guides
- 5. Belleville or disc springs
- 6. Tightening nut
- 7. Locking nut with a sputpin, cotterpin, or bolt & nut
- 8. Typical chair stem head
- 9. Grease fitting — (May be on chair stem) or guide pivot
- 10. Rivet — to hold wedges or guides to main body
About a year-and-a-half ago, when a chair grip of the spring-pressure type broke in the northwest, I began to have serious questions about chair grips and their respective maintenance requirements. Since that date, with the help of ski area maintenance people, I have collected about 35 different grips with an idea of learning as much about the individual grip as I can.
The particular items I have been concentrating on are: 1) Identification marks and their specific purpose or meaning; 2) Identifying the code system which shows what grip goes with what size of haul rope (a nightmare on some grips!); 3) Individual grip problems; 4) Manufacturer’s service and maintenance instructions; and 5) Manufacturer’s installation procedures.
I assumed that Item No. 5 above would probably have been taken care of during the load test by respective state, insurance and Forest Service inspectors. I assumed that Item No. 4 may have been reviewed and established at time of load test. Therefore, since least was probably known about Items 1, 2 and 3, I started my investigation there and worked through to No. 5.
Whereas most manufacturers have a coding system of some type for identifying sizes of chair grips — to cite some, Hall, Riblet, Thiokol and Lift Engineering are very good at coding individual chair grips — on some grips currently in use it is almost impossible to identify which grip goes with which haul rope. Example: one manufacturer produces one size grip, marked in only one size, and then the jaws are reamed to accomodate a larger haul rope with no subsequent markings to indicate the larger grip. How do area maintenance men tell the two sizes of grips apart?
The research on this project has been slow, and is by no means complete. I have run into some unexpected situations, such as the manufacturer who wanted money for whatever he had in his file for service and installation required. Service and maintenance instructions have been very difficult to obtain, except in the case of two manufacturers. While this has been a frustrating experience, area maintenance personnel have been very good at giving me whatever they have, but what they have is very little for some grips.
I would also comment that some installation requirements are very minimal and difficult to understand. I also found I kept running into chair or surface grips previously unknown to me and on which there is apparently no information at all.
Note: This is a continuing project, with follow-up coverage scheduled for the Fall issue. Input from the whole ski area industry is important, and would be appreciated by the author and by the editor.
As a result of this investigation I have arrived at eight criteria which any grip available today should, in my opinion, meet:
- It must be easily identified as to size.
- Have an adequate factor of safety against slip on the greatest slope with the required B-77 design load.
- Ensure an easy, smooth, passage over all vertical and horizontal sheaves.
- Ensure no haul rope damage.
- It must be easily assembled and dismantled for relocation and replacement.
- There must be manufacturer’s instructions for repair and installation.
- It must be designed for adequate factor of safety of vertical loads and impact loads as required by B-77.
- Replacement parts such as bolts, nuts, springs, cotter pins, snap rings, washers, lock washers, etc. all must be specified as to type, part or manufacturer number and replacement time.
Since embarking on this project over a year ago I have also developed my own service thoughts on periodic maintenance of chair grips. These are my ideas, some are from maintenance personnel, some are code requirements, some are practical. All are my requirements.
Maintenance Requirements for Chair Grips
- All external grips when installed shall be match-marked to the haul rope, using paint, either red or orange. The marks shall be visable to the operator at top and bottom.
- Grip slippage shall be checked each day upon opening by operator or attendant and subsequently watched during the day and appropriate comments made. (Note: This gives the attendant something better to do than playing musical instruments.)
- After installation of grip as per manufacturers requirements, run lift for several hours. Recheck all torque requirements then match mark to the haul rope.
- A grip slip test shall be conducted on each grip on an annual basis as per manufacturer’s recommendations.
- All cotter pins and self-locking nuts should be replaced when grip is replaced, relocated, or repaired.
- Split roll pins in place of cotter pin should not be used.
- All coil springs, disc washers, internal snap rings should be thoroughly cleaned, inspected, and checked in accordance with manufacturer’s recommendations and replaced if necessary.
- All grips should be thoroughly cleaned when relocated.
- A 10 per cent sample of grips should be sent to the manufacturer’s recommended testing lab for X-ray or other suitable testing.
- An individual area grip numbering system should be initiated to keep track of grip maintenance and repair, especially for gondolas, or grips with many moving parts.
GRIP TESTING
by Nils Ericksen, P.E.
Technical Editor
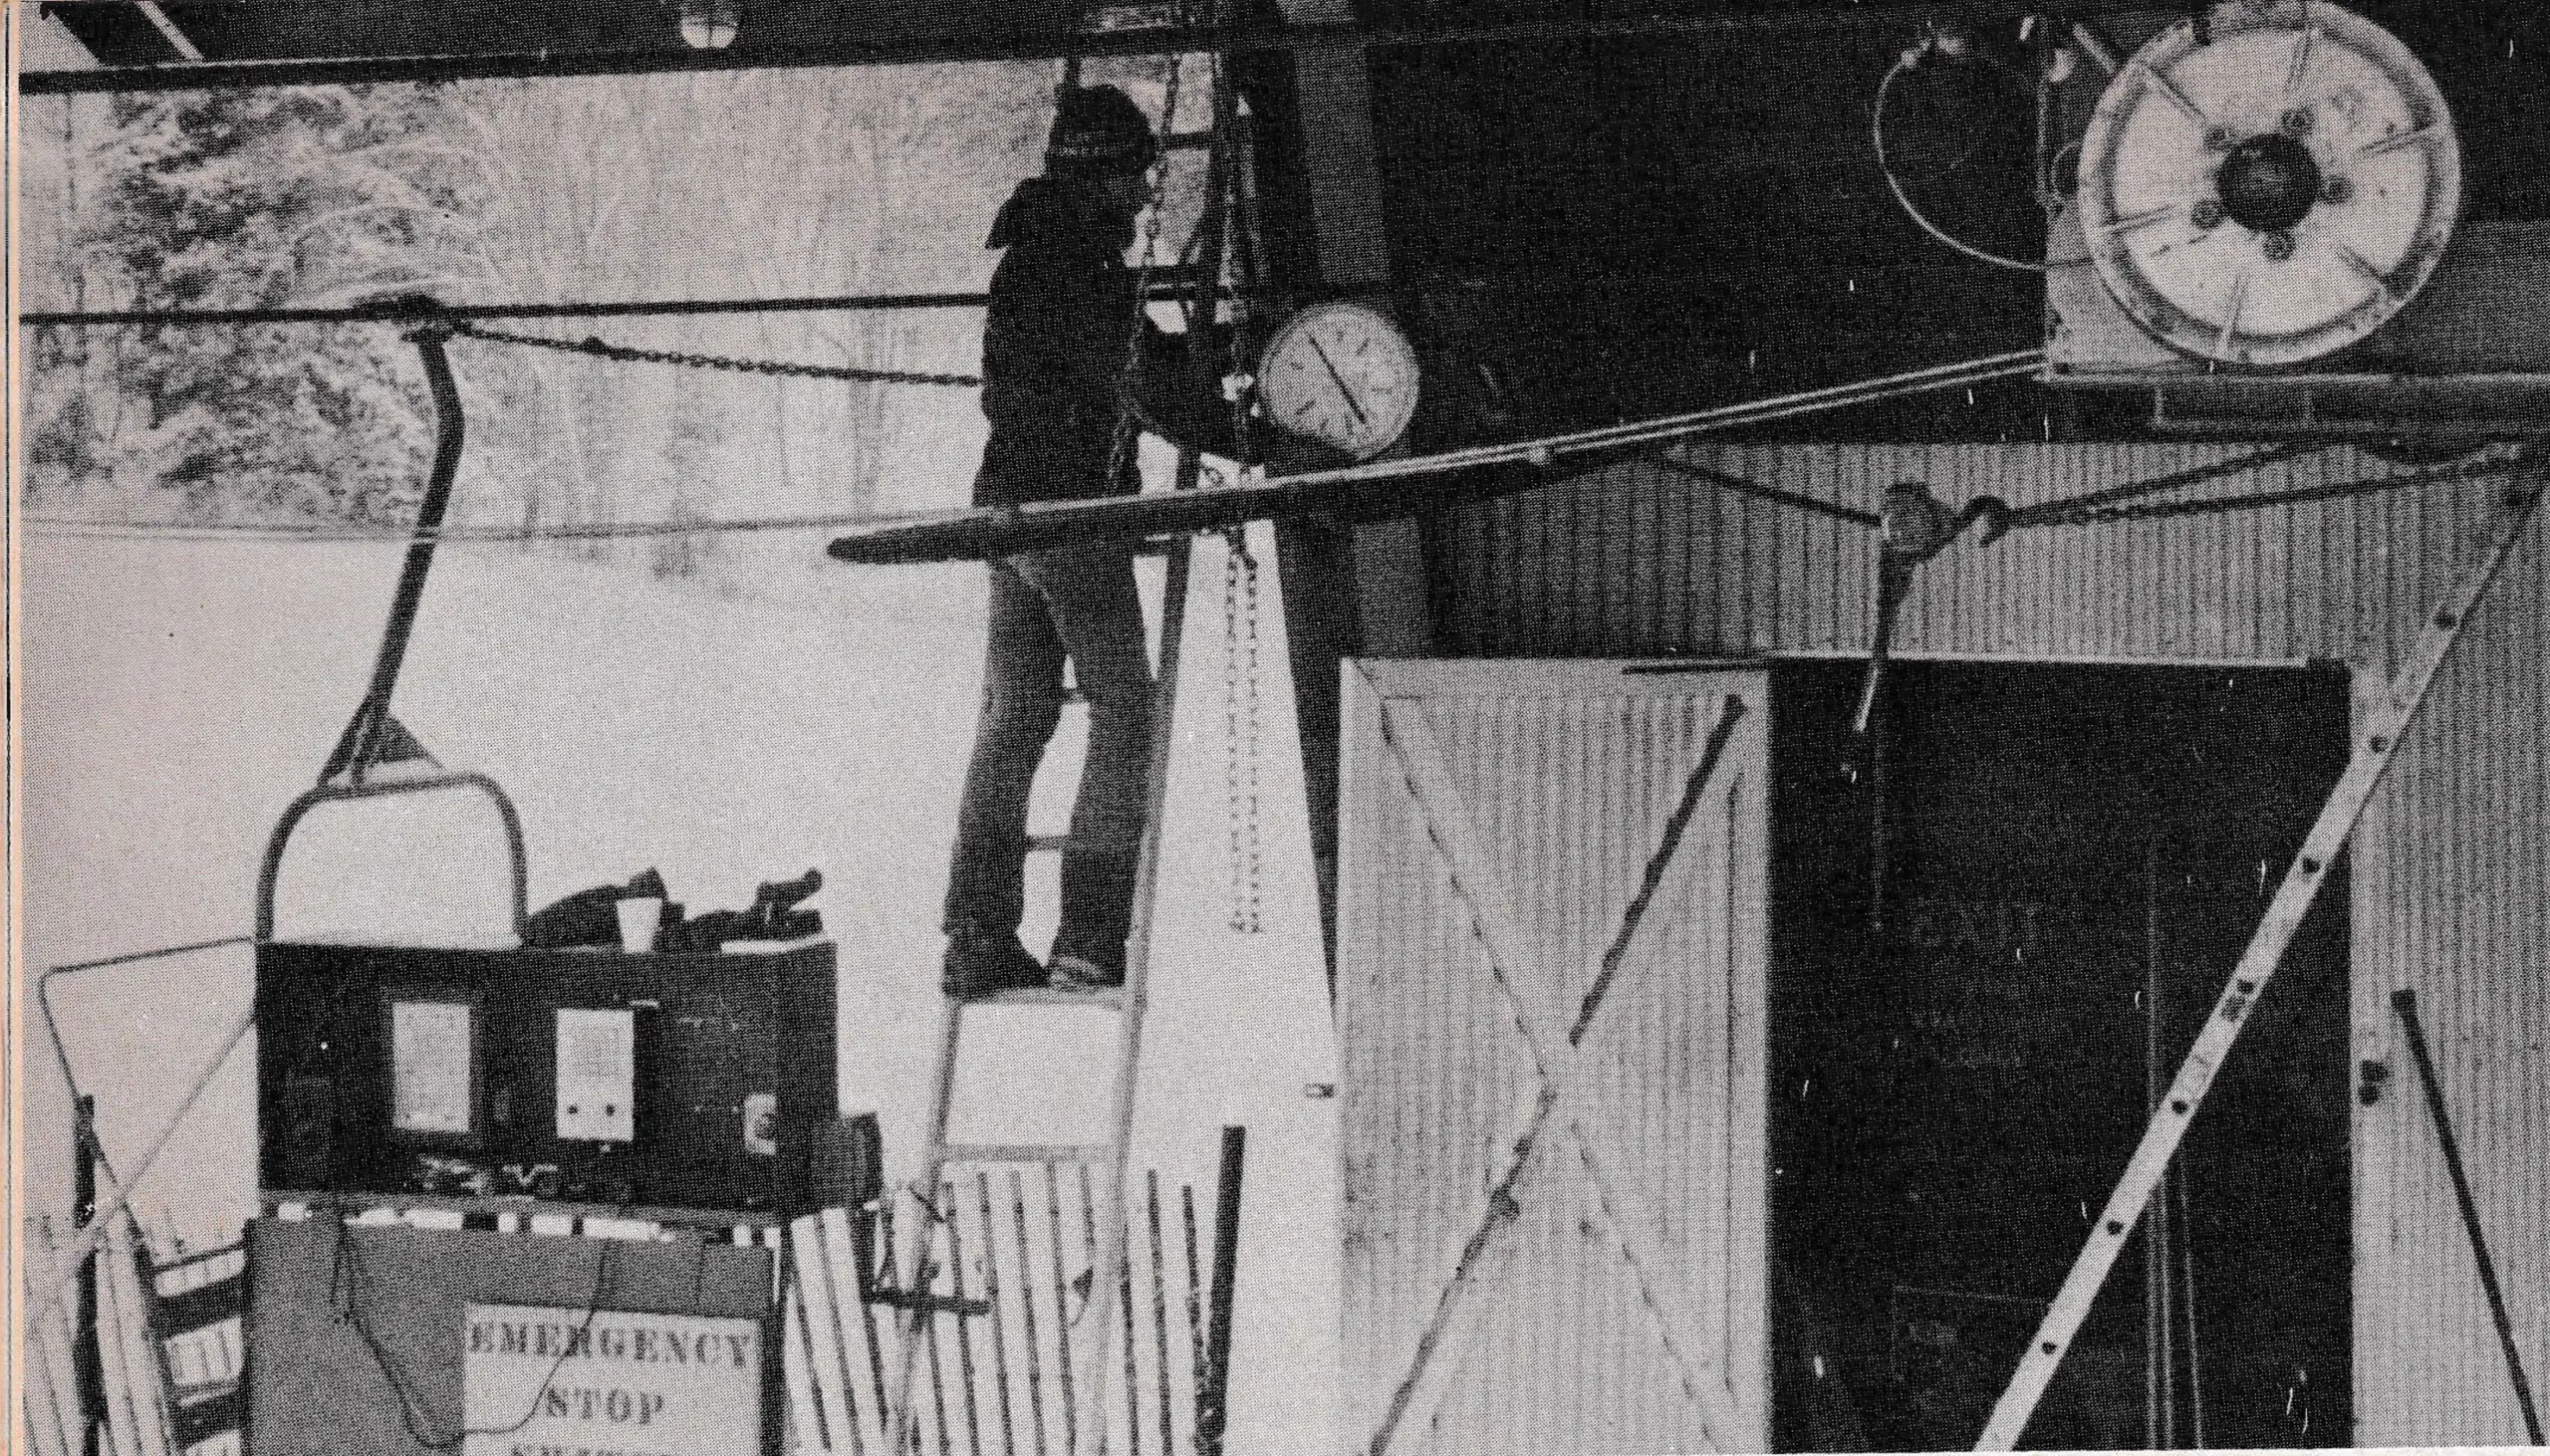
As a direct result of new requirements in ANSI — B77.1, 1976 edition, there has been a great deal of attention focused on the function and testing of grips.
Probably the most common method of testing the “slip resistance” of any external grip involves the use of a spring or hydraulic type scale. Recently, a test was conducted at an eastern ski area after a loaded chair fell from this tower. Although the actual cause for grip release was found to be incompatibility with a new bullwheel liner, the testing procedure is indicative of one accepted method.
Prior to gathering any equipment, you must determine what the required holding force must be for each lift. The force calculated is a function of the steepest haul rope incline (not ground slope) of any section of the lift on the loaded side. Determining this angle is not difficult and once established will not change unless the lift profile is modified. Contact your lift supplier for this information.
Testing Procedure
- Obtain a scale capable of indicating at least twice your required force.
- Choose a protected, level area at either terminal that provides clear access to about 20 feet of haul rope.
- Attach a chain (Fig. 1) or device supplied by the lift manufacturer to one grip close to the wire rope.
- Fasten the chain to one end of the scale (Fig. 2) and a “come-a-long” to the other.
- Attach the working end of the come-a-long to the terminal structure, close to the wire rope.
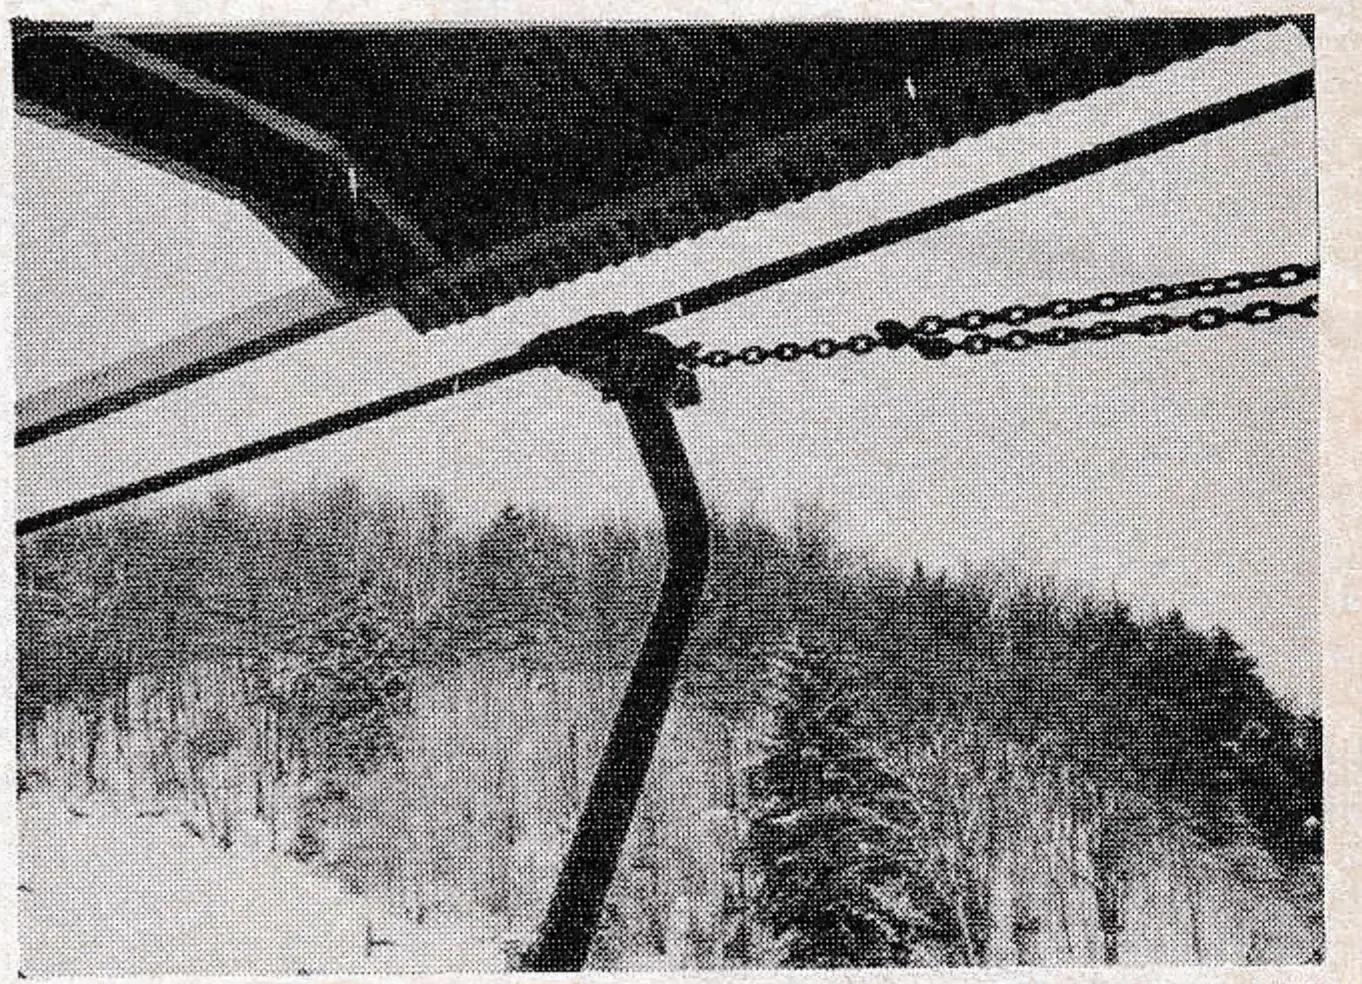
Erect some type of movable staging or ladders to assist in the dismantling/setup process. Time spent on devising a good scheme will prove very worthwhile later on. Attach a rope to support the scale and keep it near the haul rope. This will reduce unnecessary handling of the heavy scale. Take up all slack in the system. Check the grip for proper adjustment according to manufacturer’s specifications, prior to testing.
Now the testing may begin. Slowly apply force with the come-a-long so the scale needle moves upward at a constant rate (Fig. 4) and the grip first “slips”. The actual movement may be ¼”. Repeat the loading until the grip slips again on the rope. Record this reading (Fig. 5) and the original (Fig. 6) on your preprinted table. Be sure to record the chair number also. If either reading, the second in particular, falls below what is required, adjust the grip and test again (use new cotter pins). Do not allow the grips to be excessively tightened. Permanent damage to the wire rope or grip may result.
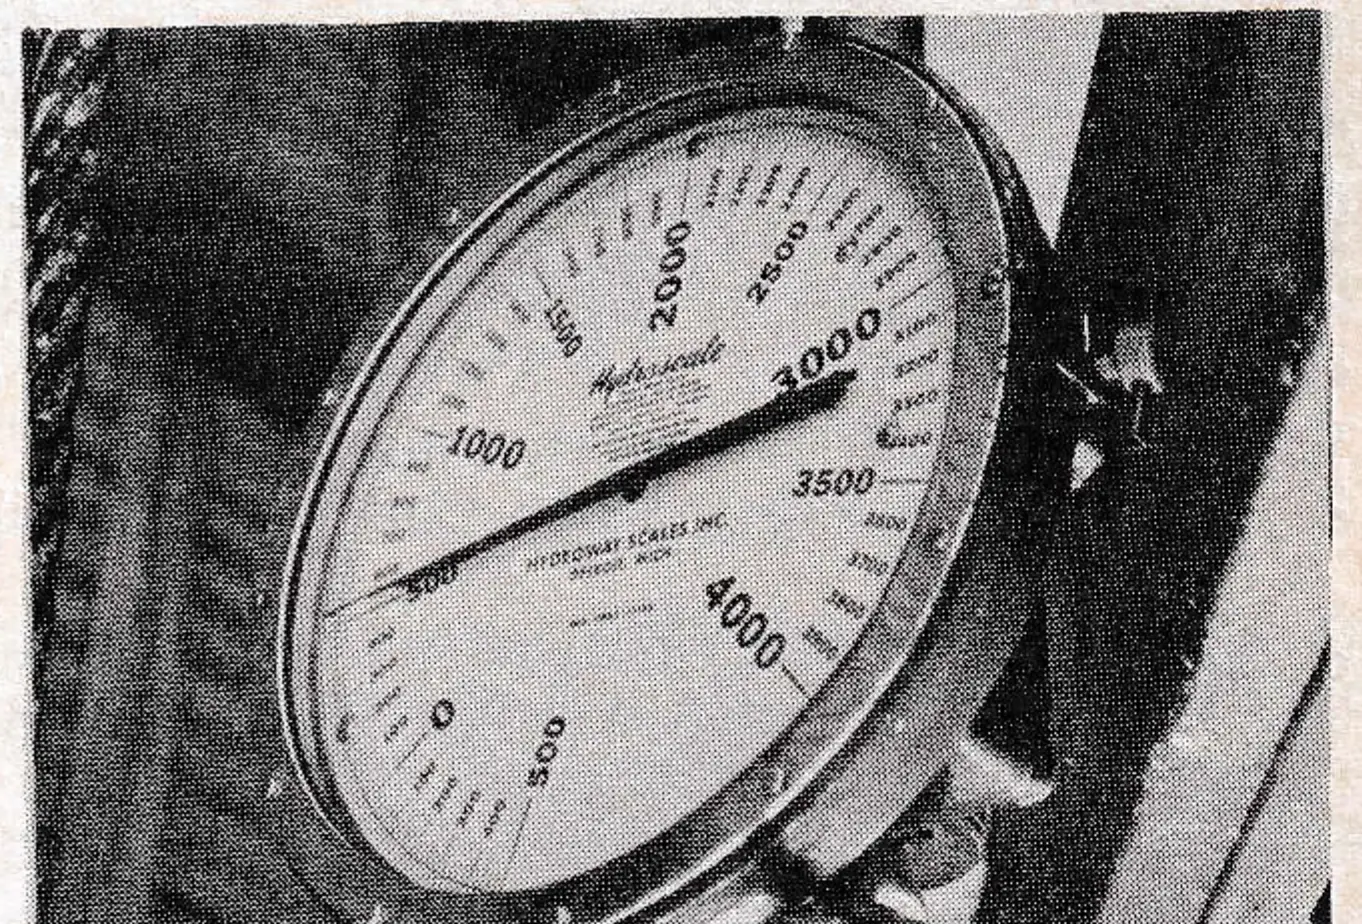
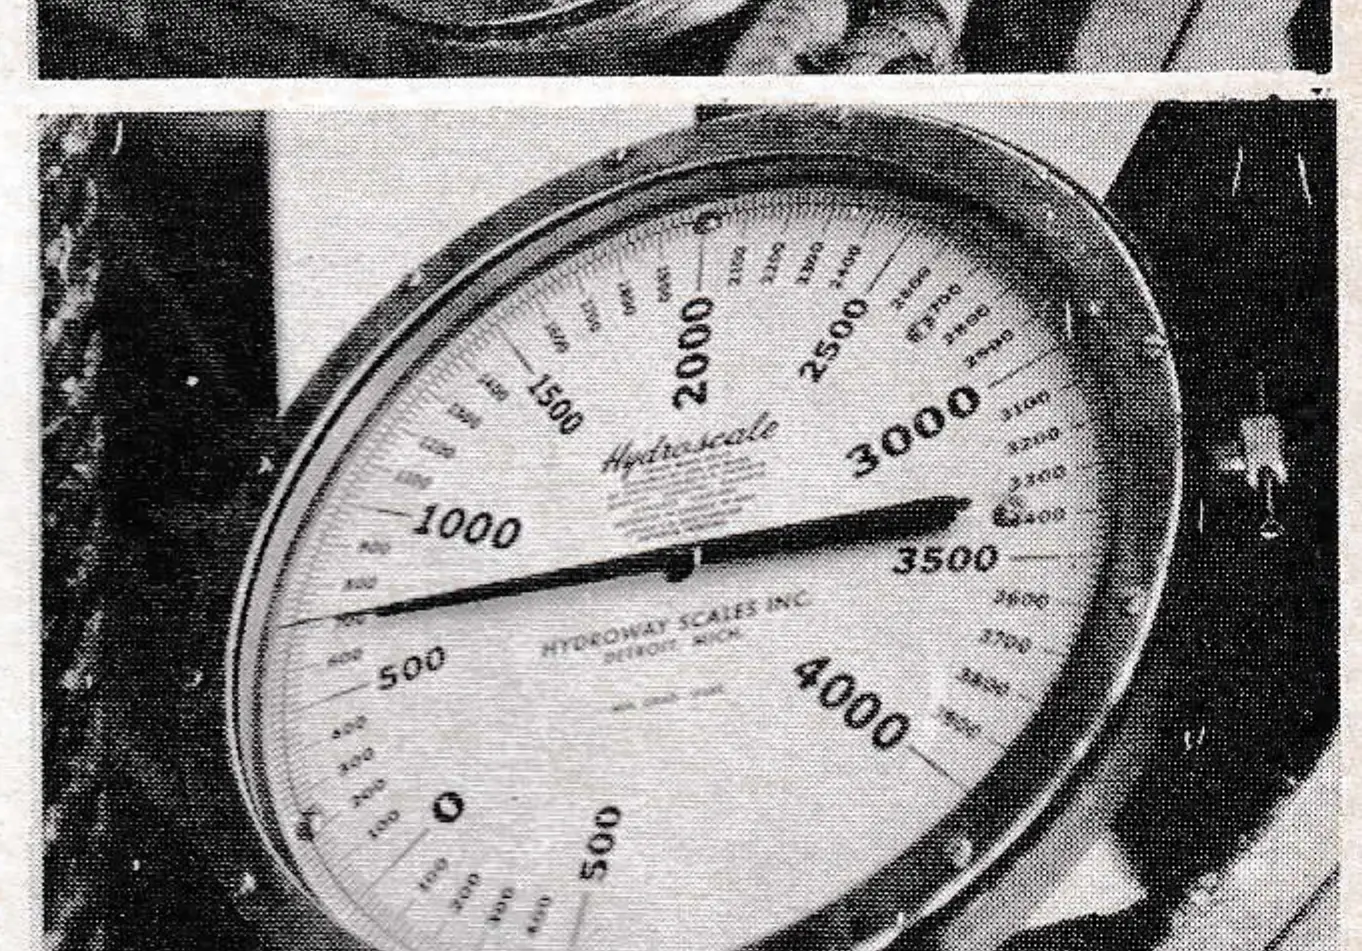
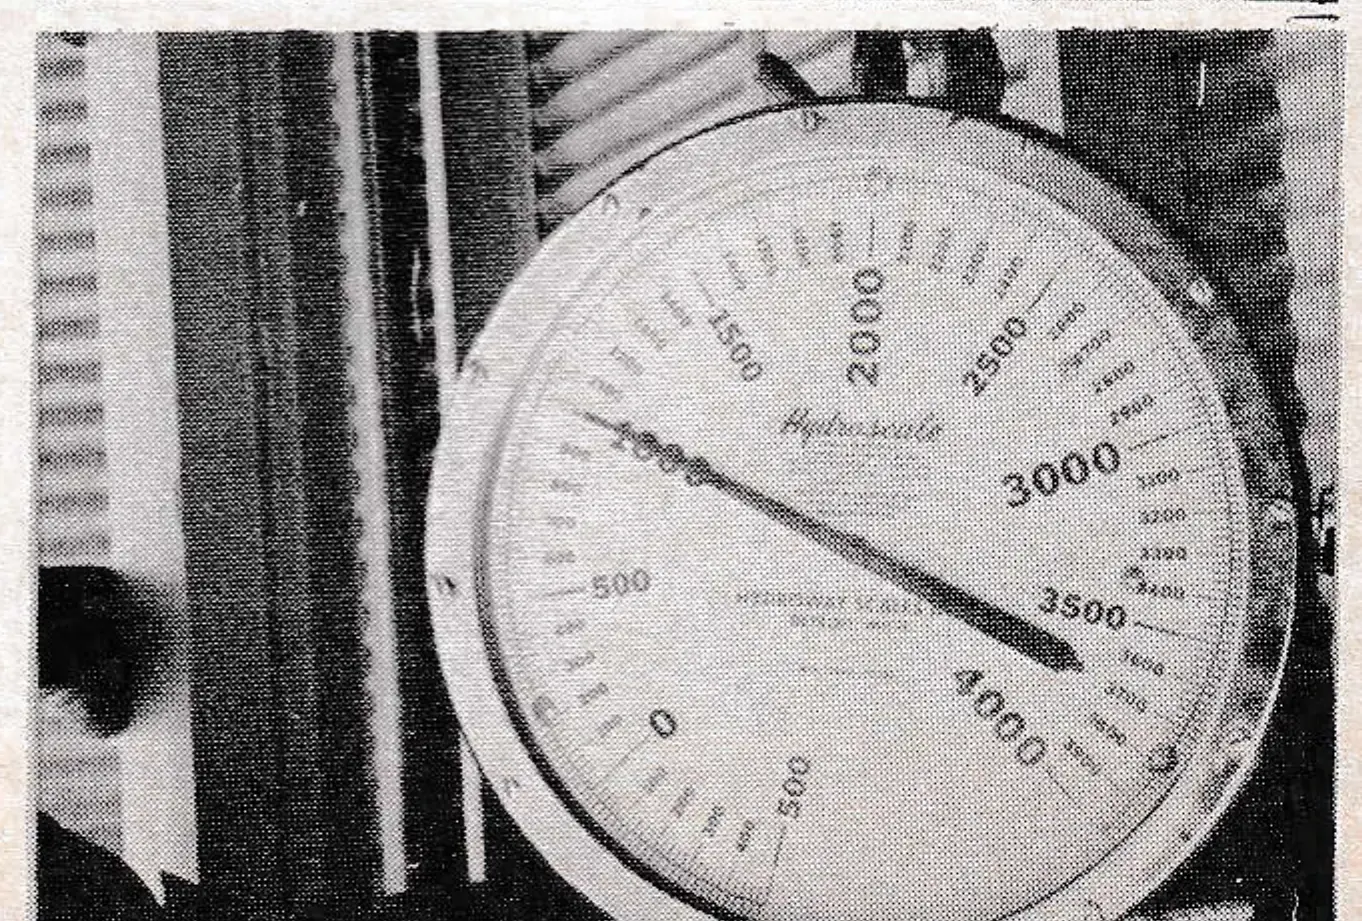
Repeat the above procedure for each chair. We used four men, and the fastest we could complete one cycle was 2 ½ minutes with an average of slightly over 3. This doesn’t seem like much time but when you multiply the 3 minutes by all your carriers . . .

Remember, the proper time to test your grips is every time they are relocated, at least once every two years. Also, the wire rope must be properly lubricated and should be thoroughly inspected for broken and nicked wires.
SAM REPORTS ON NEW GRIP TESTING DEVICES
Lift companies develop equipment for making required grip slip measurements
Ed Note: Recent changes in the B 77.1 ANSI standards with regard to grip testing prompted the design and manufacture of several new devices. (The insert grip used by Riblet is exempted from the grip testing requirements of the code.) We present below three such devices currently available, and one soon to be ready.
Lift Engineering
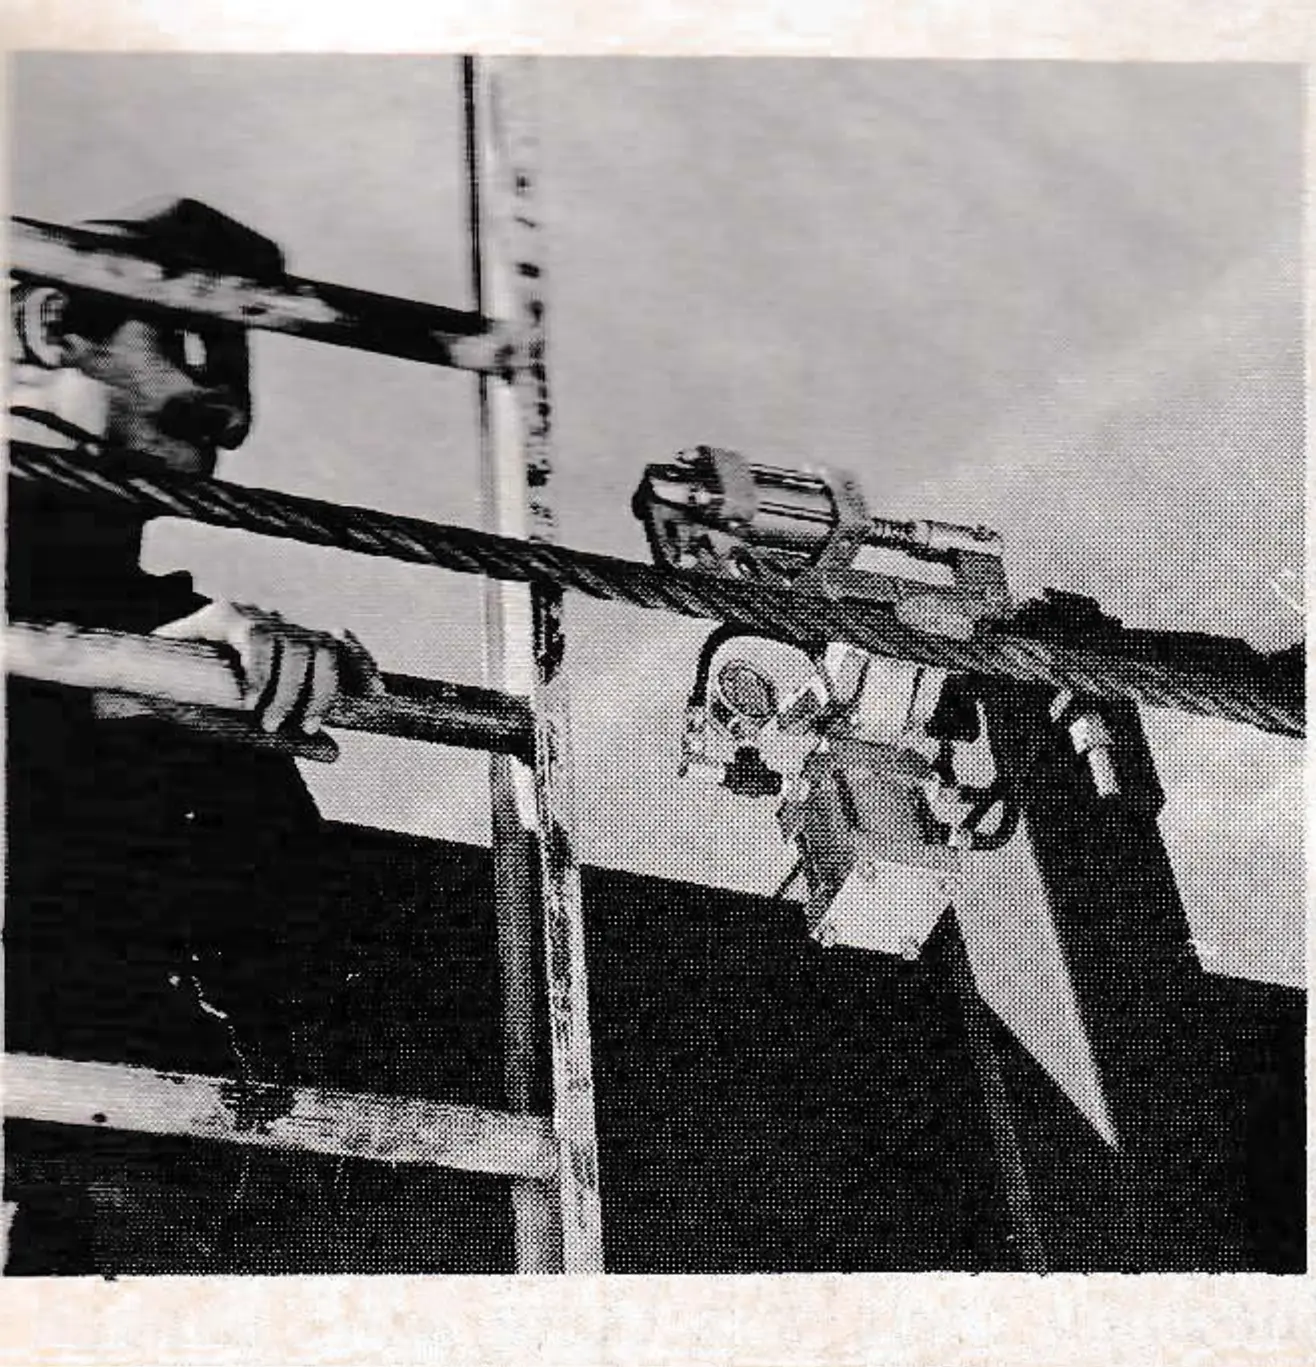
Janek Kunczynski, of Lift Engineering, has designed a pneumatic grip tester for use on his Yan chairlifts, but which, it is claimed, can be used on almost any make chairlift.
The Yan device clamps directly on the haul rope and then allows for force to be applied to the grip. It is powered with dry nitrogen rather than with a hand-held block-and-tackle or belay system. It is small and portable, and, according to the manufacturer, can be applied for spot checks at any point on the haul rope “in a matter of minutes.”
Hall Ski-Lift
The Hall Universal Grip Tester is designed to provide the user with a fast, simple and accurate means of measuring the sliding resistance on the man haul cable of any manufacturer’s chairlift or gondola. The operation of the test stand and the recording of results are done from ground level while the person on the work scaffold needs only to reposition the form-fitting test clamps. Accessories for this testing equipment are also being developed by Hall Ski-Lift Co., Inc. to be used for pressing bushings, as a chair moving tool, etc.
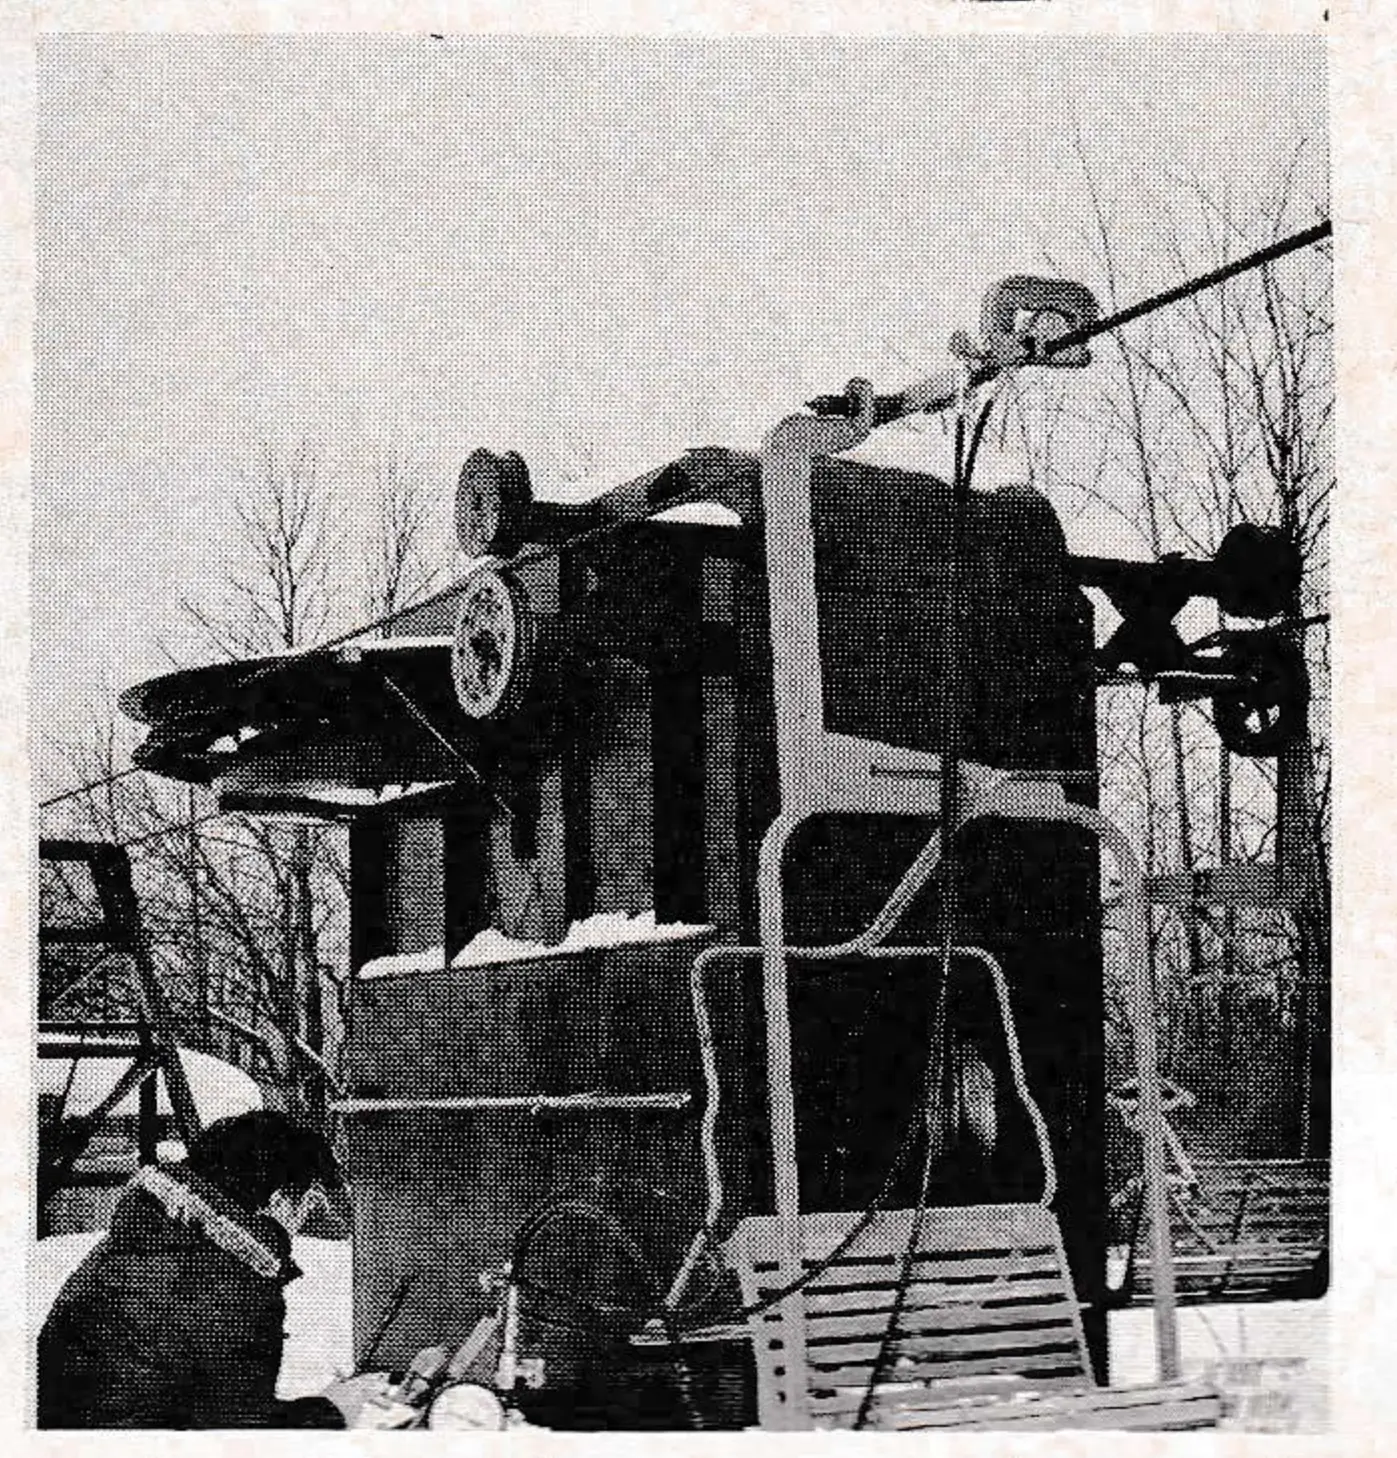
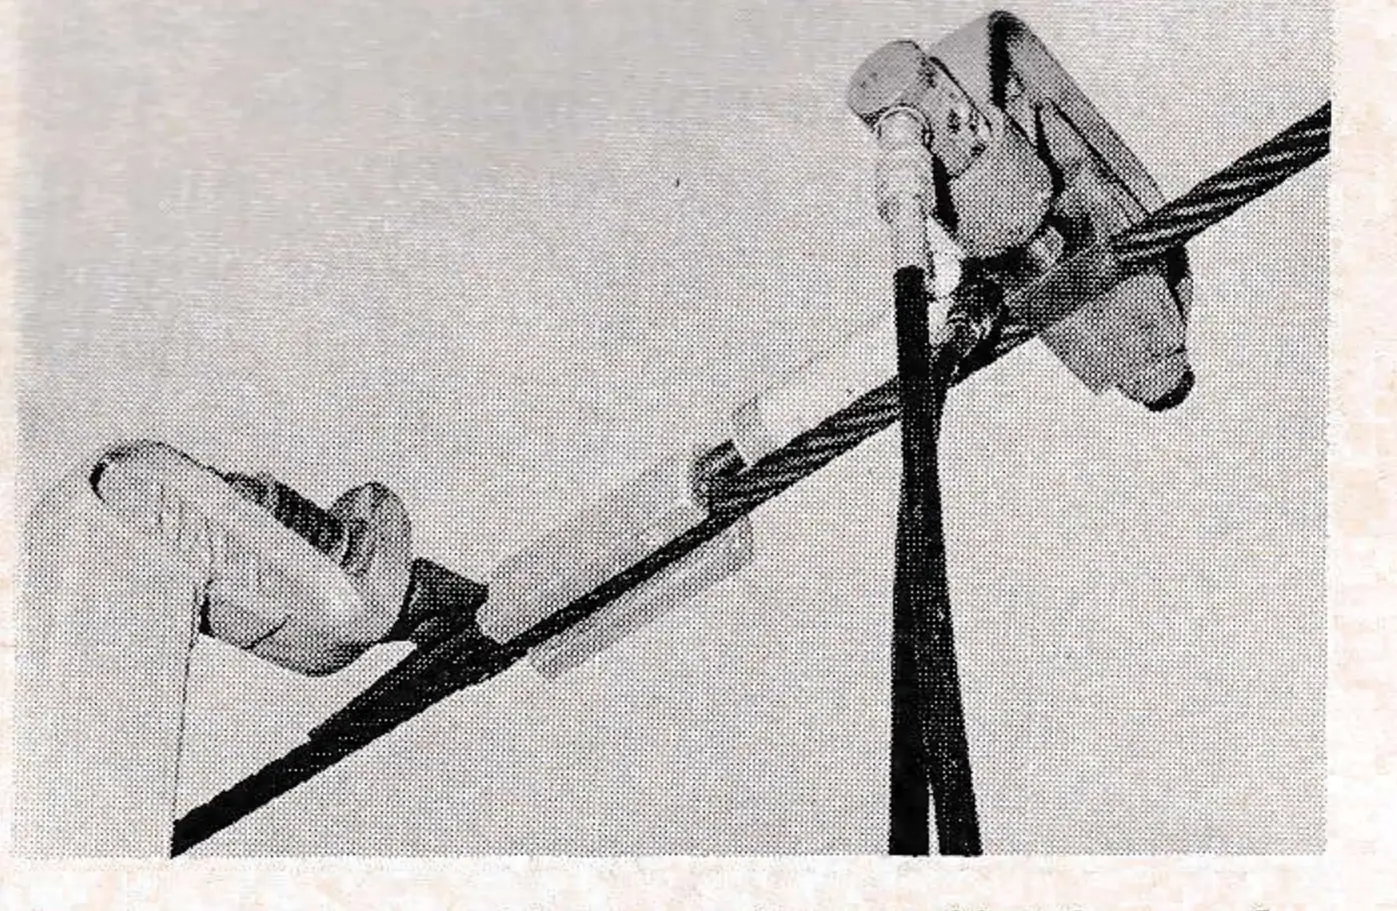
Cost of the tester is $1,500, and total shipping weight is 131 lbs. This testing equipment is also available on a rental basis either with or without Hall’s service personnel.
Borvig Corp.
Borvig Corp. is offering a lightweight (approximately ten pounds) device which easily attaches to the cable and grip. A ½” torque wrench is inserted at the pivot point, and force is applied to the wrench. When the previously calculated force in foot-pounds is reached, and the grip does not move, the adjustment is satisfactory.
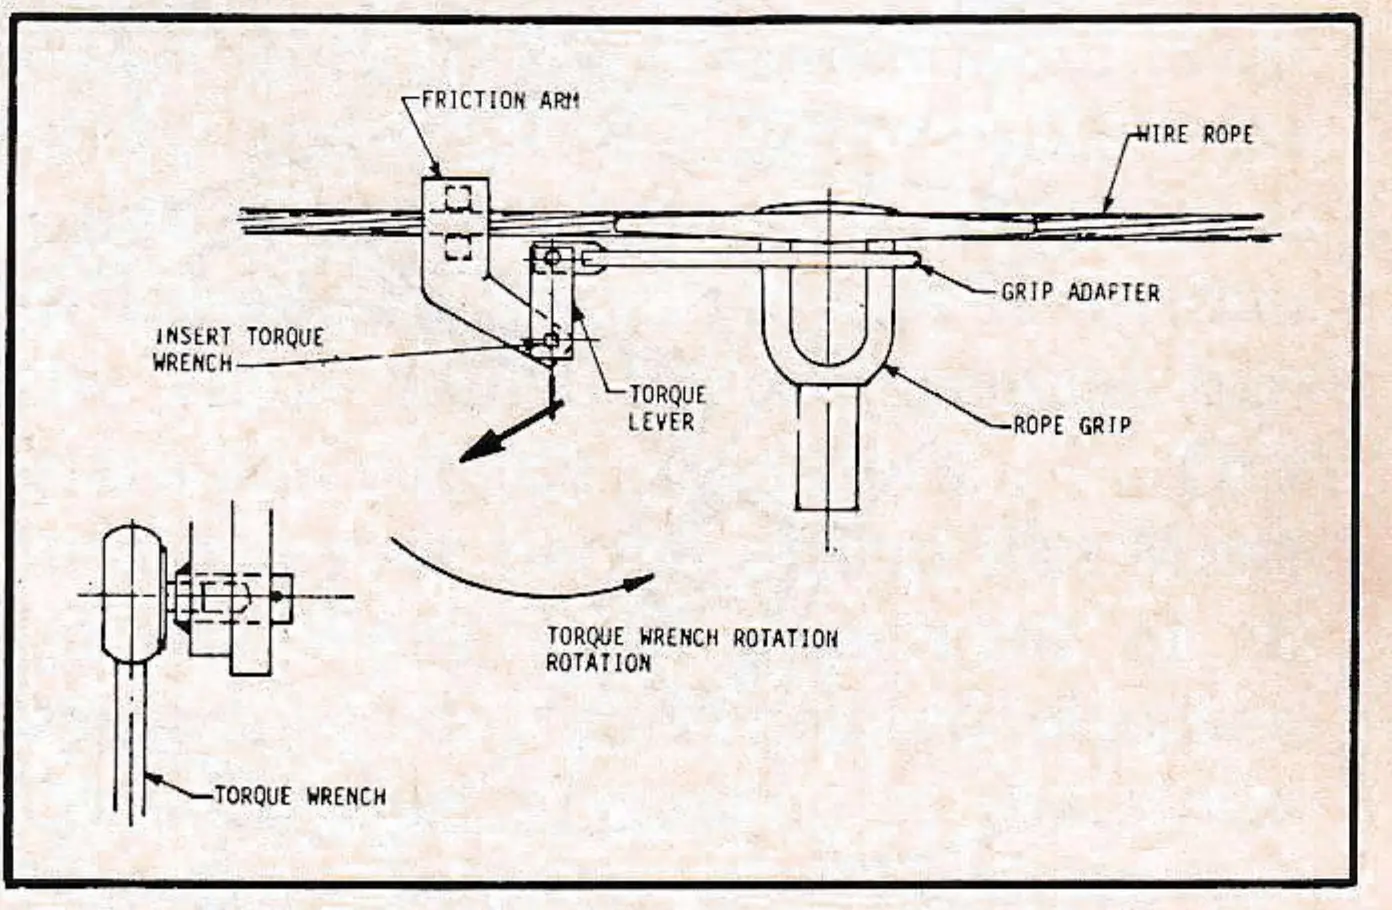
The Borvig grip-testing device sells for $200.00
Thiokol—Logan Division
Thiokol has developed a grip-testing device which will be available early this summer. It weighs approximately 100 lbs.
The device is hydraulically operated with a special wheeled mechanism which engages the chair grip while lift operates at 100-250 ft./min. The hydraulics are adjustable for a pre-set force. If the grip does not slide, the device is then ready for the next grip.
A plan is being considered whereby the device would be circulated among Thiokol’s Liftmaster customers for their use.
Stadeli grip device
Stadeli Lifts have developed a device to speedily (50 seconds is claimed) relocate Stadeli grips Type S and SA (up to 1-3/8”).
The device eliminates the need for dismounting, thus removing a source of error. Grip adjustment remains correct, according to Stadeli.